


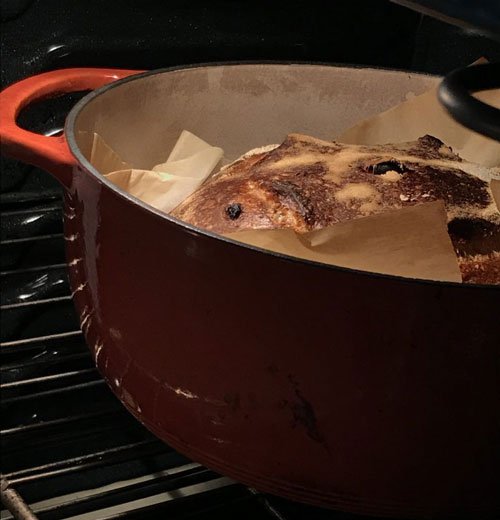

-
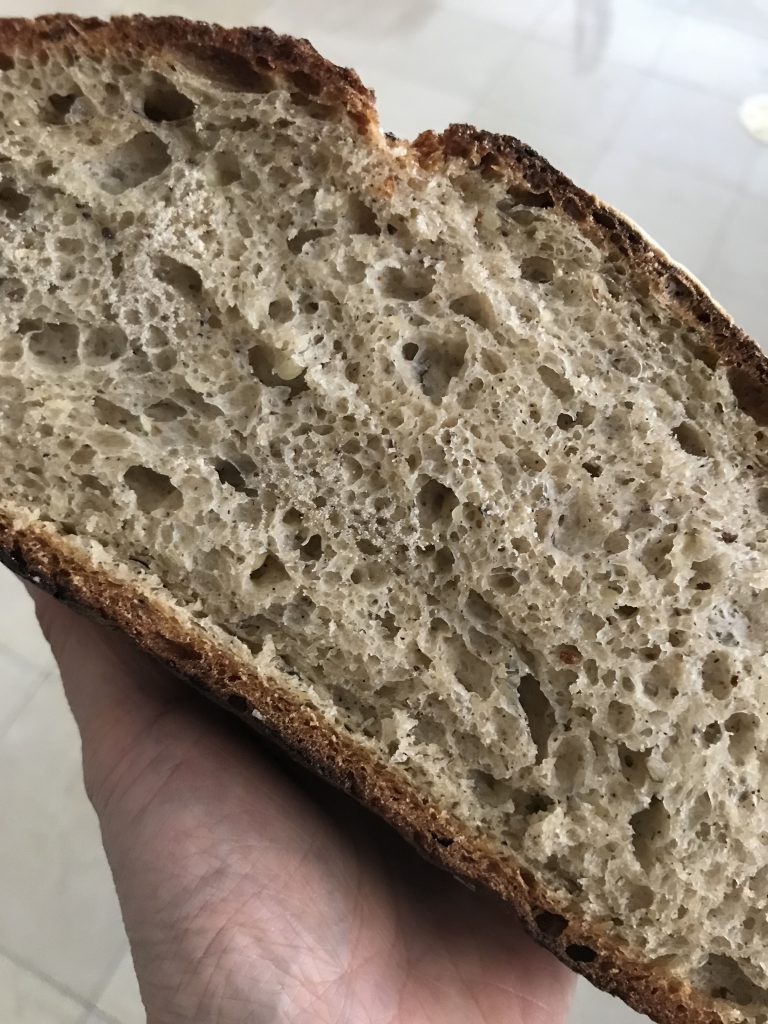
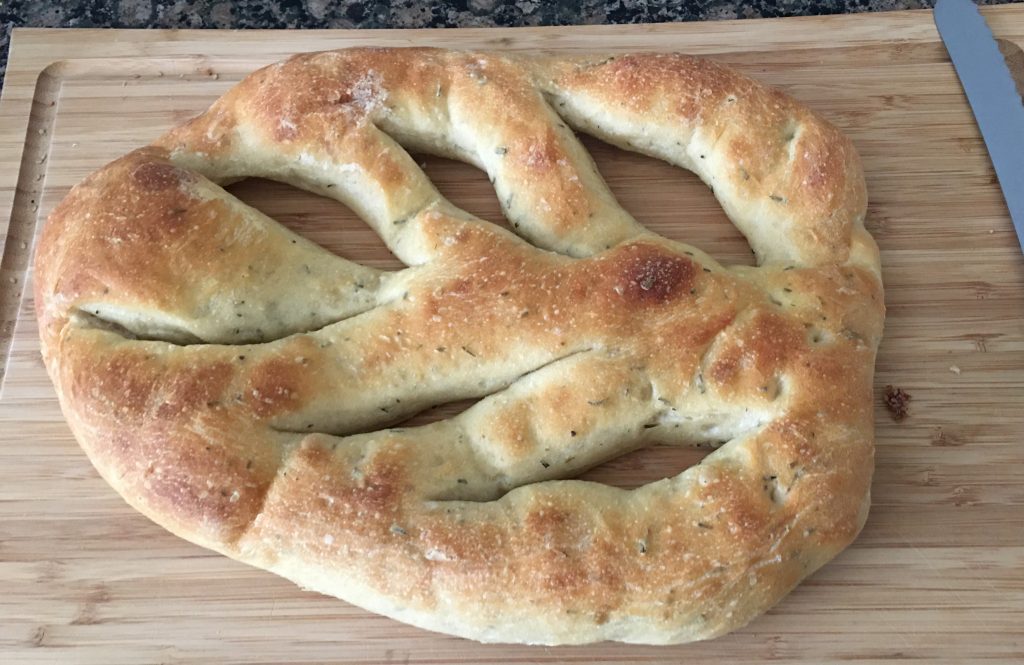
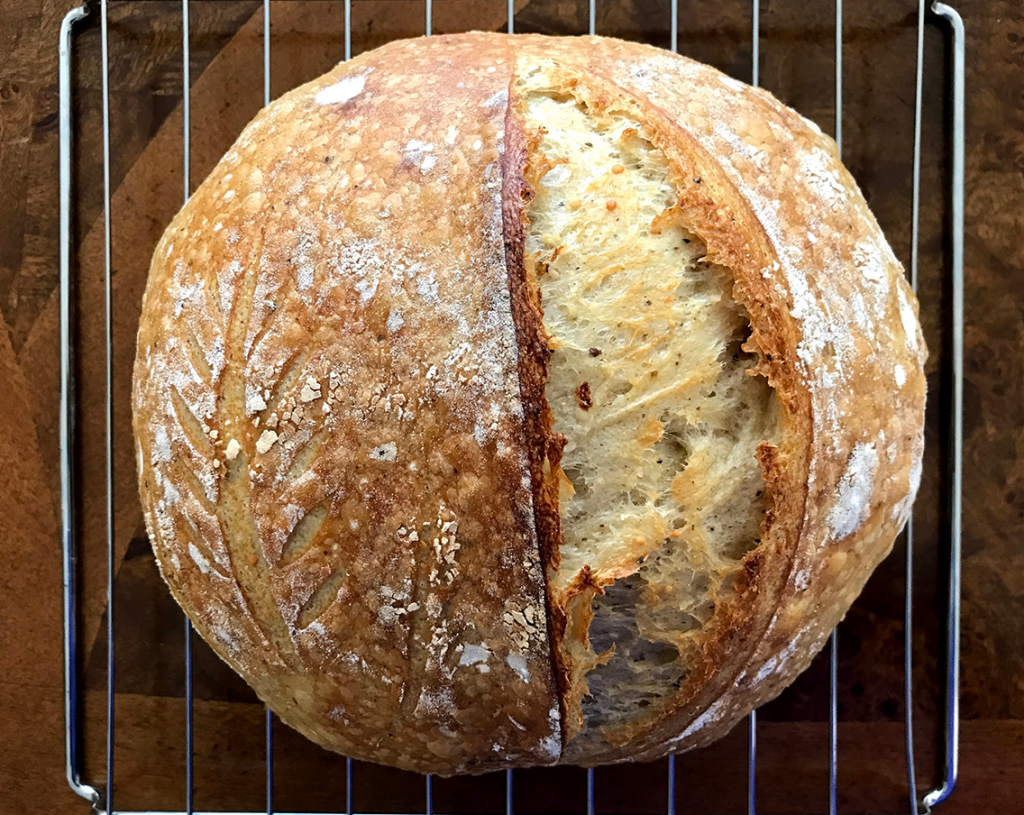
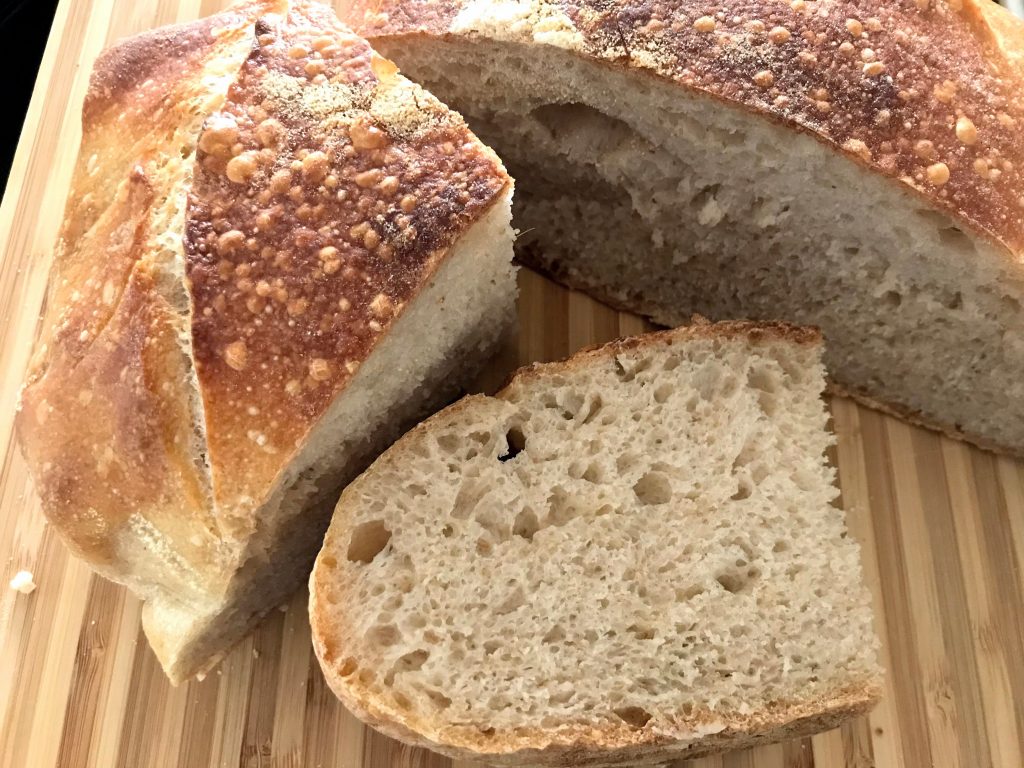
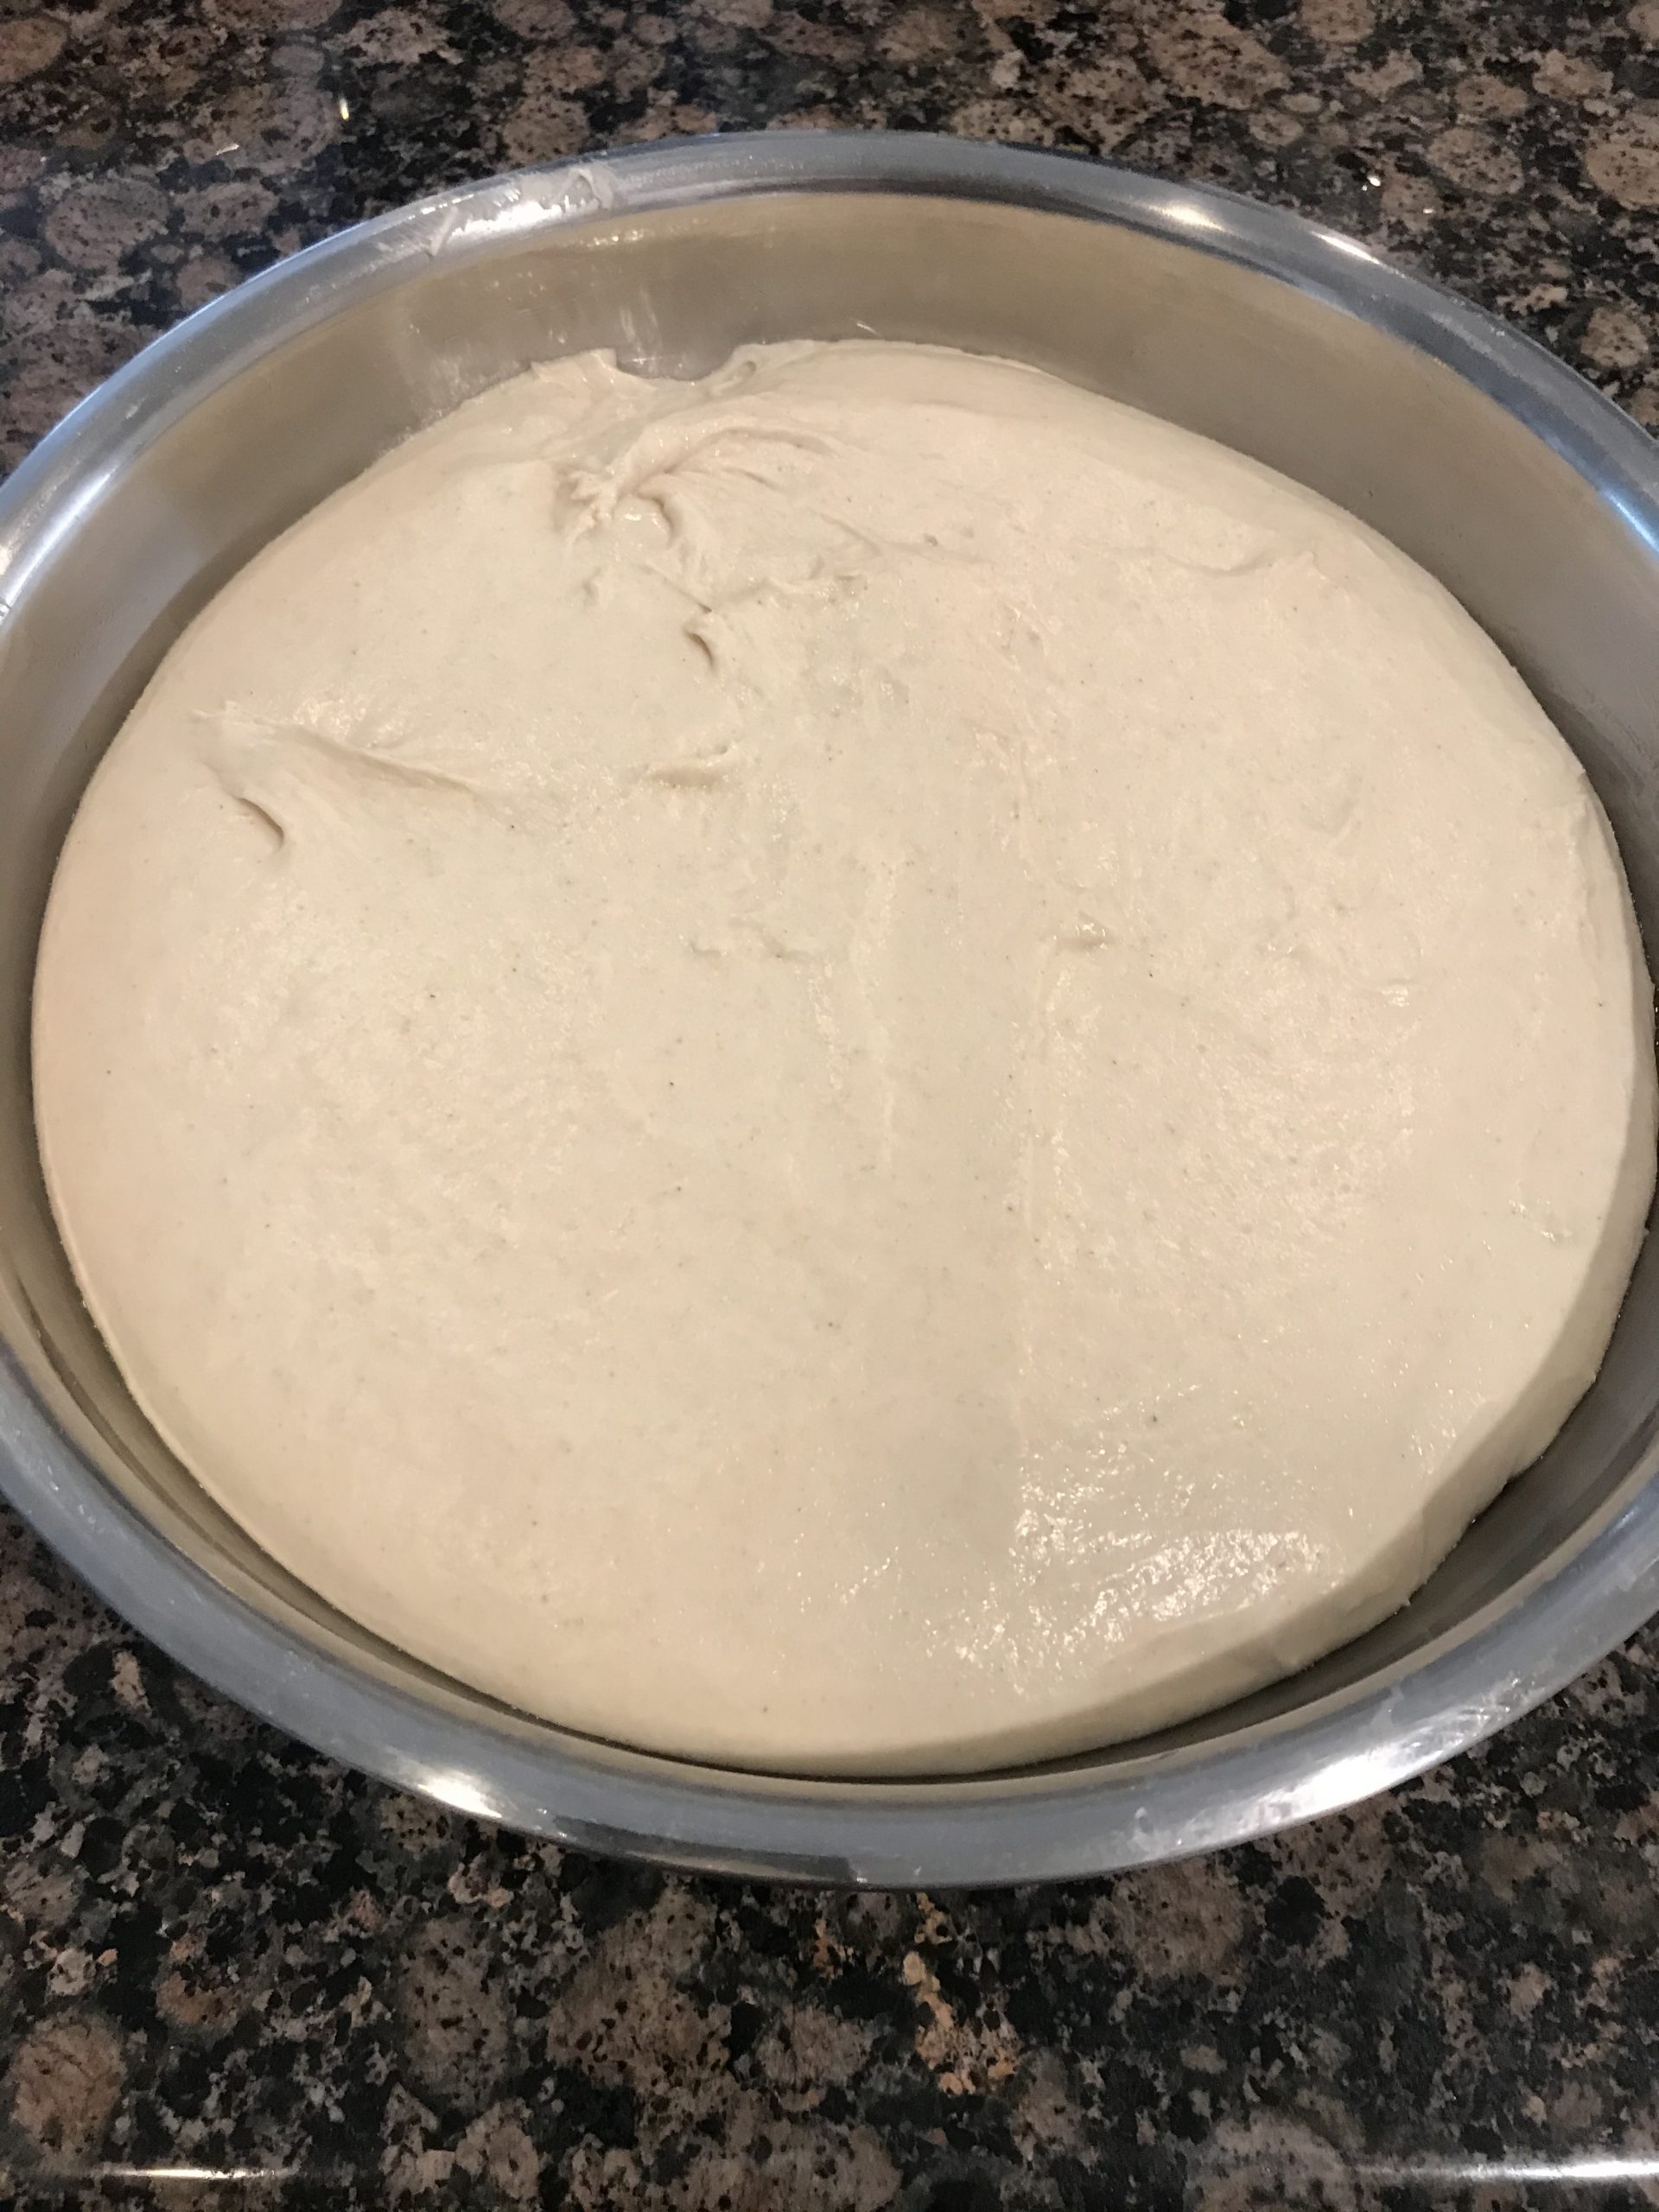
Bread, moist and light -
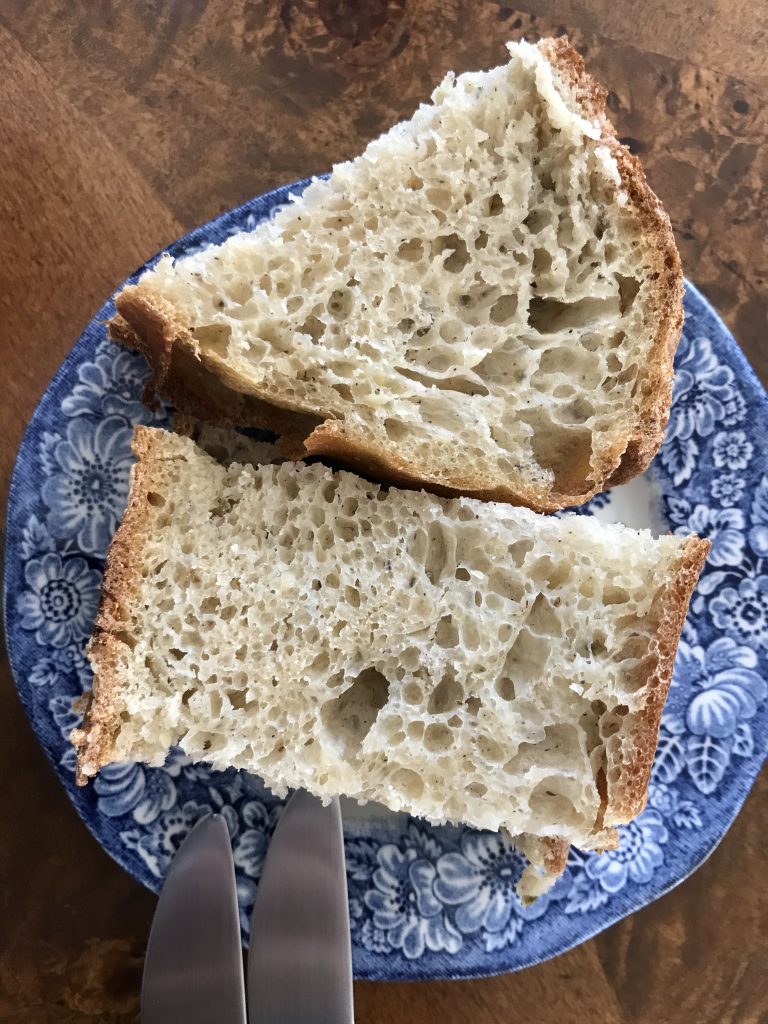
Ready for breakfast
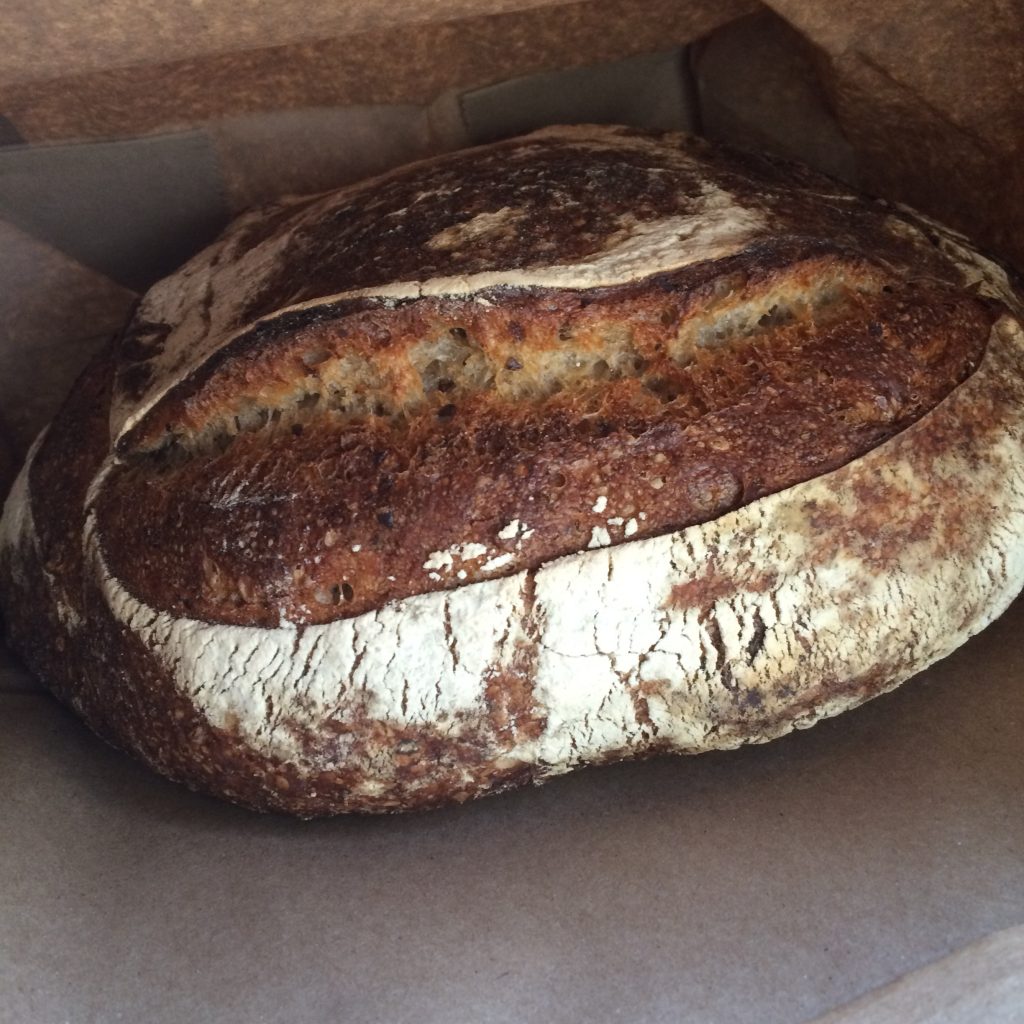
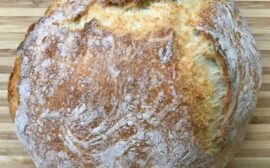
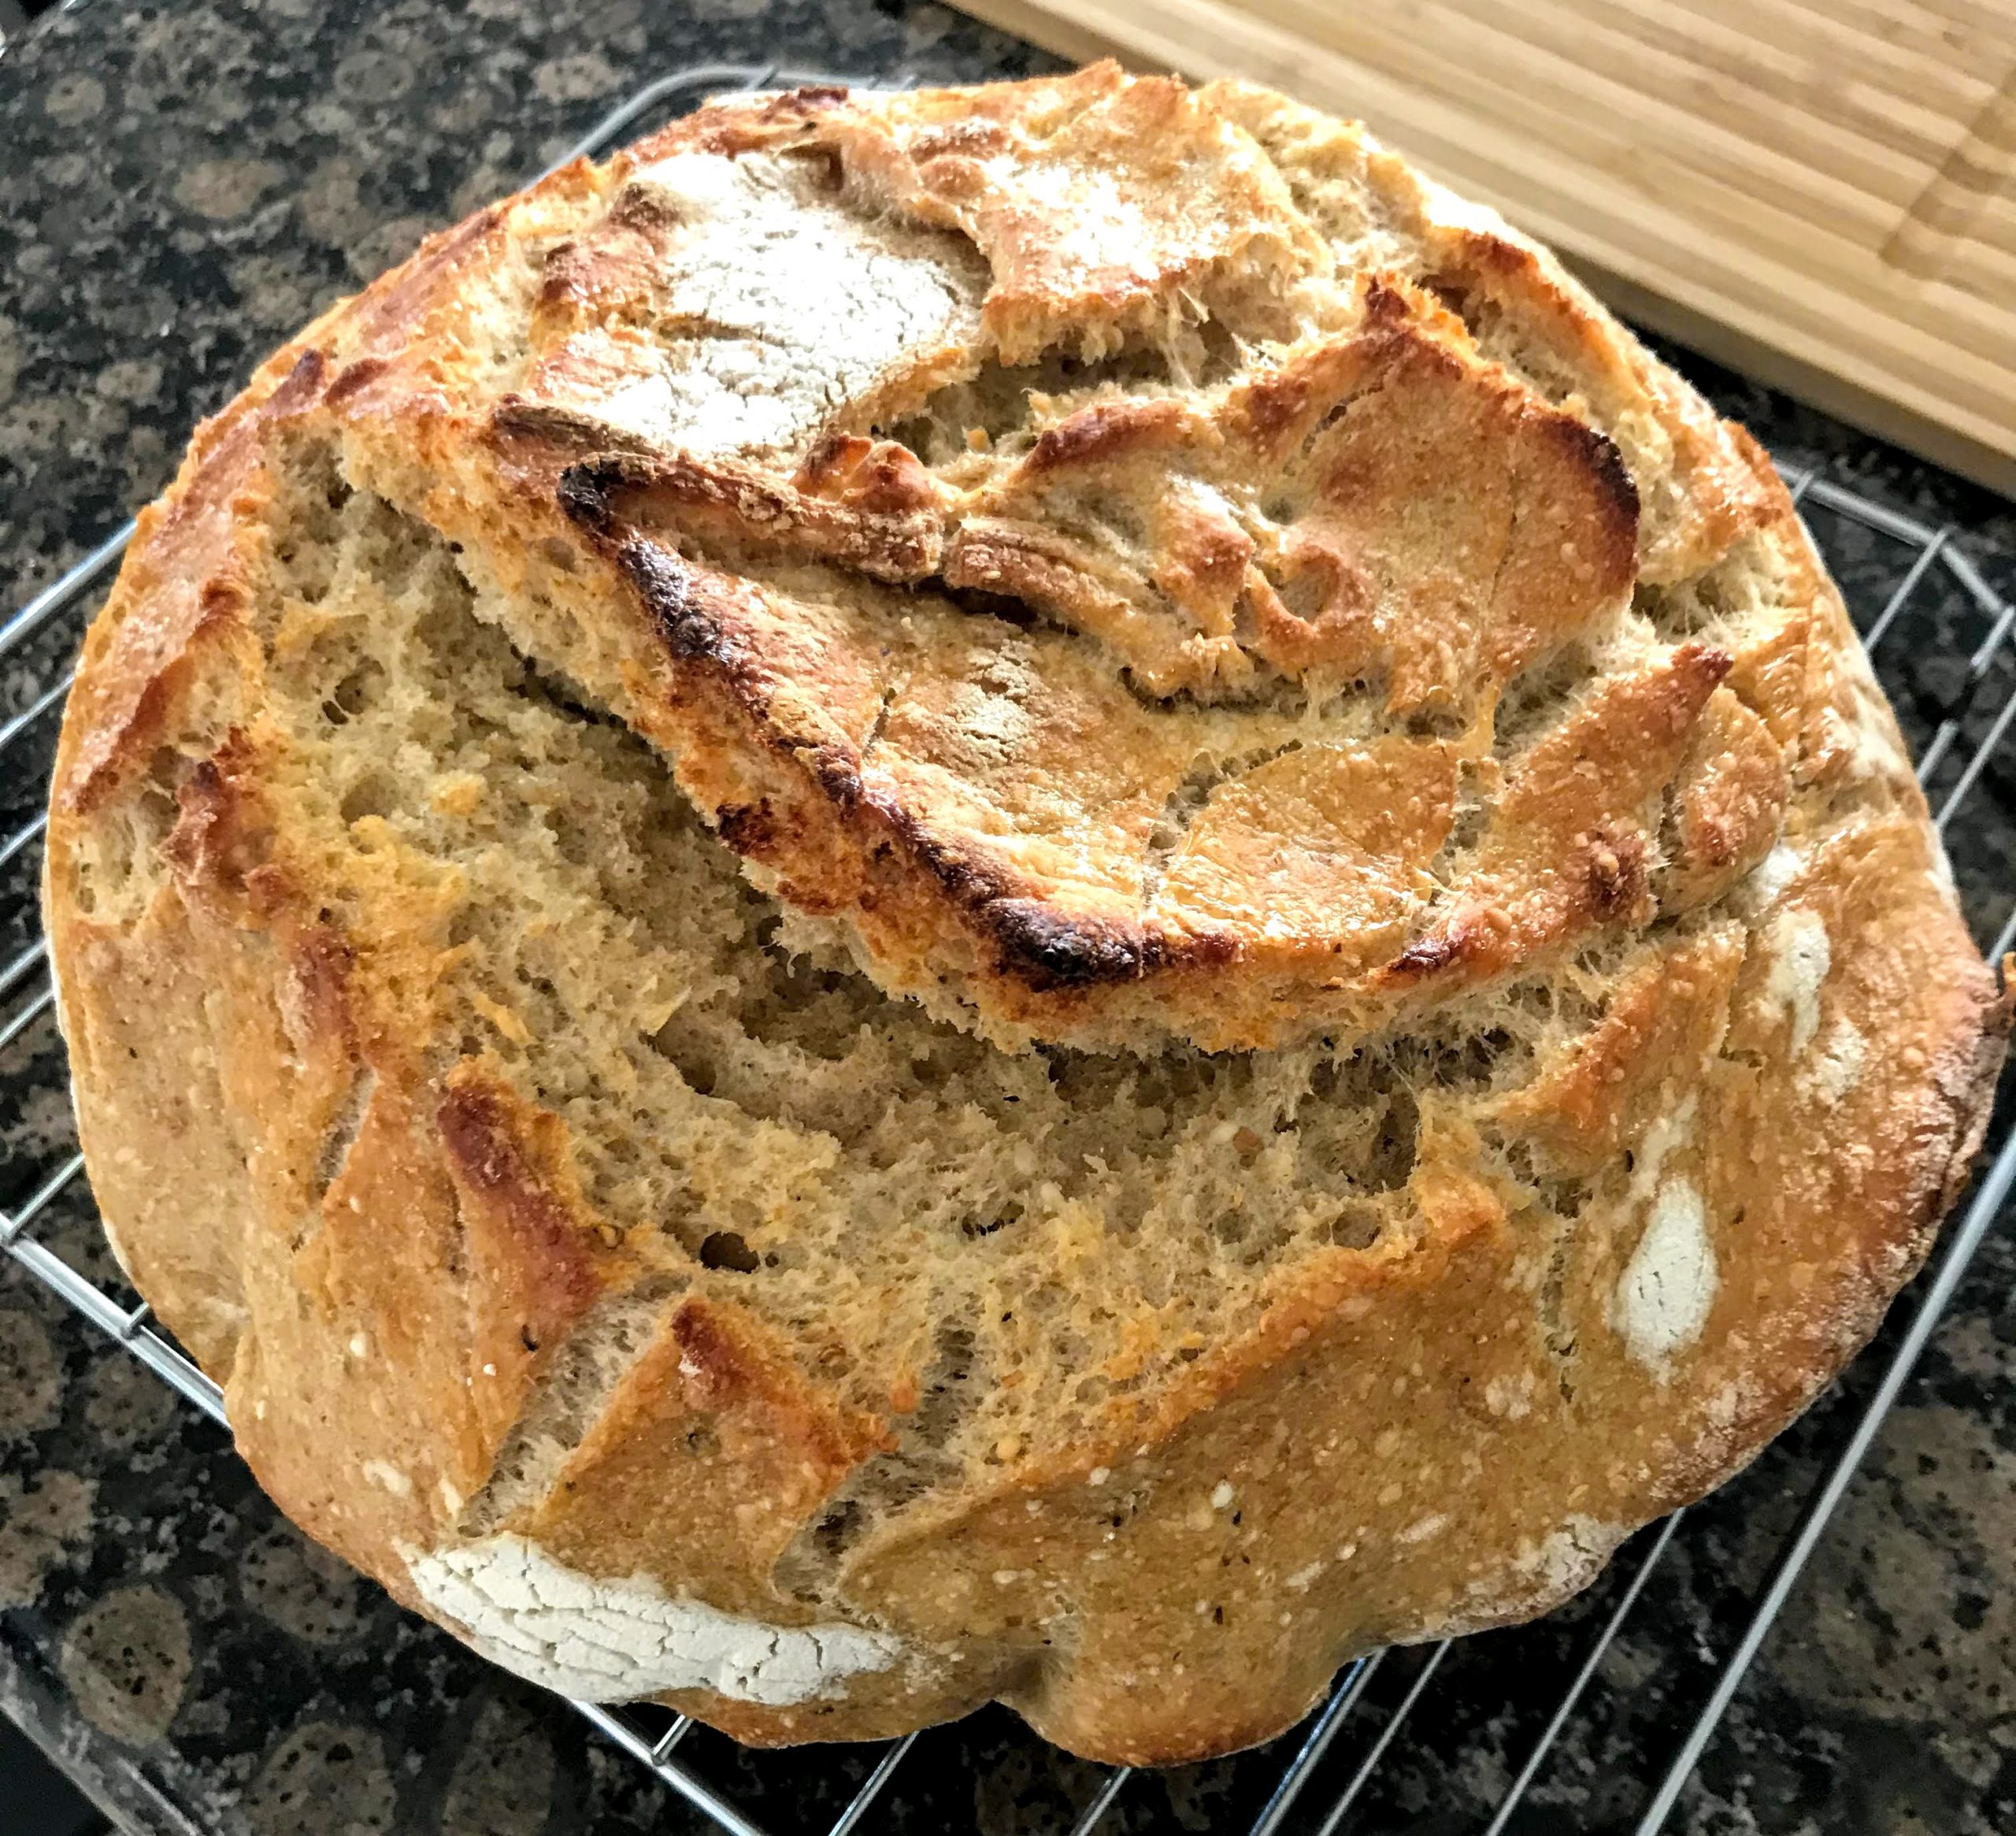
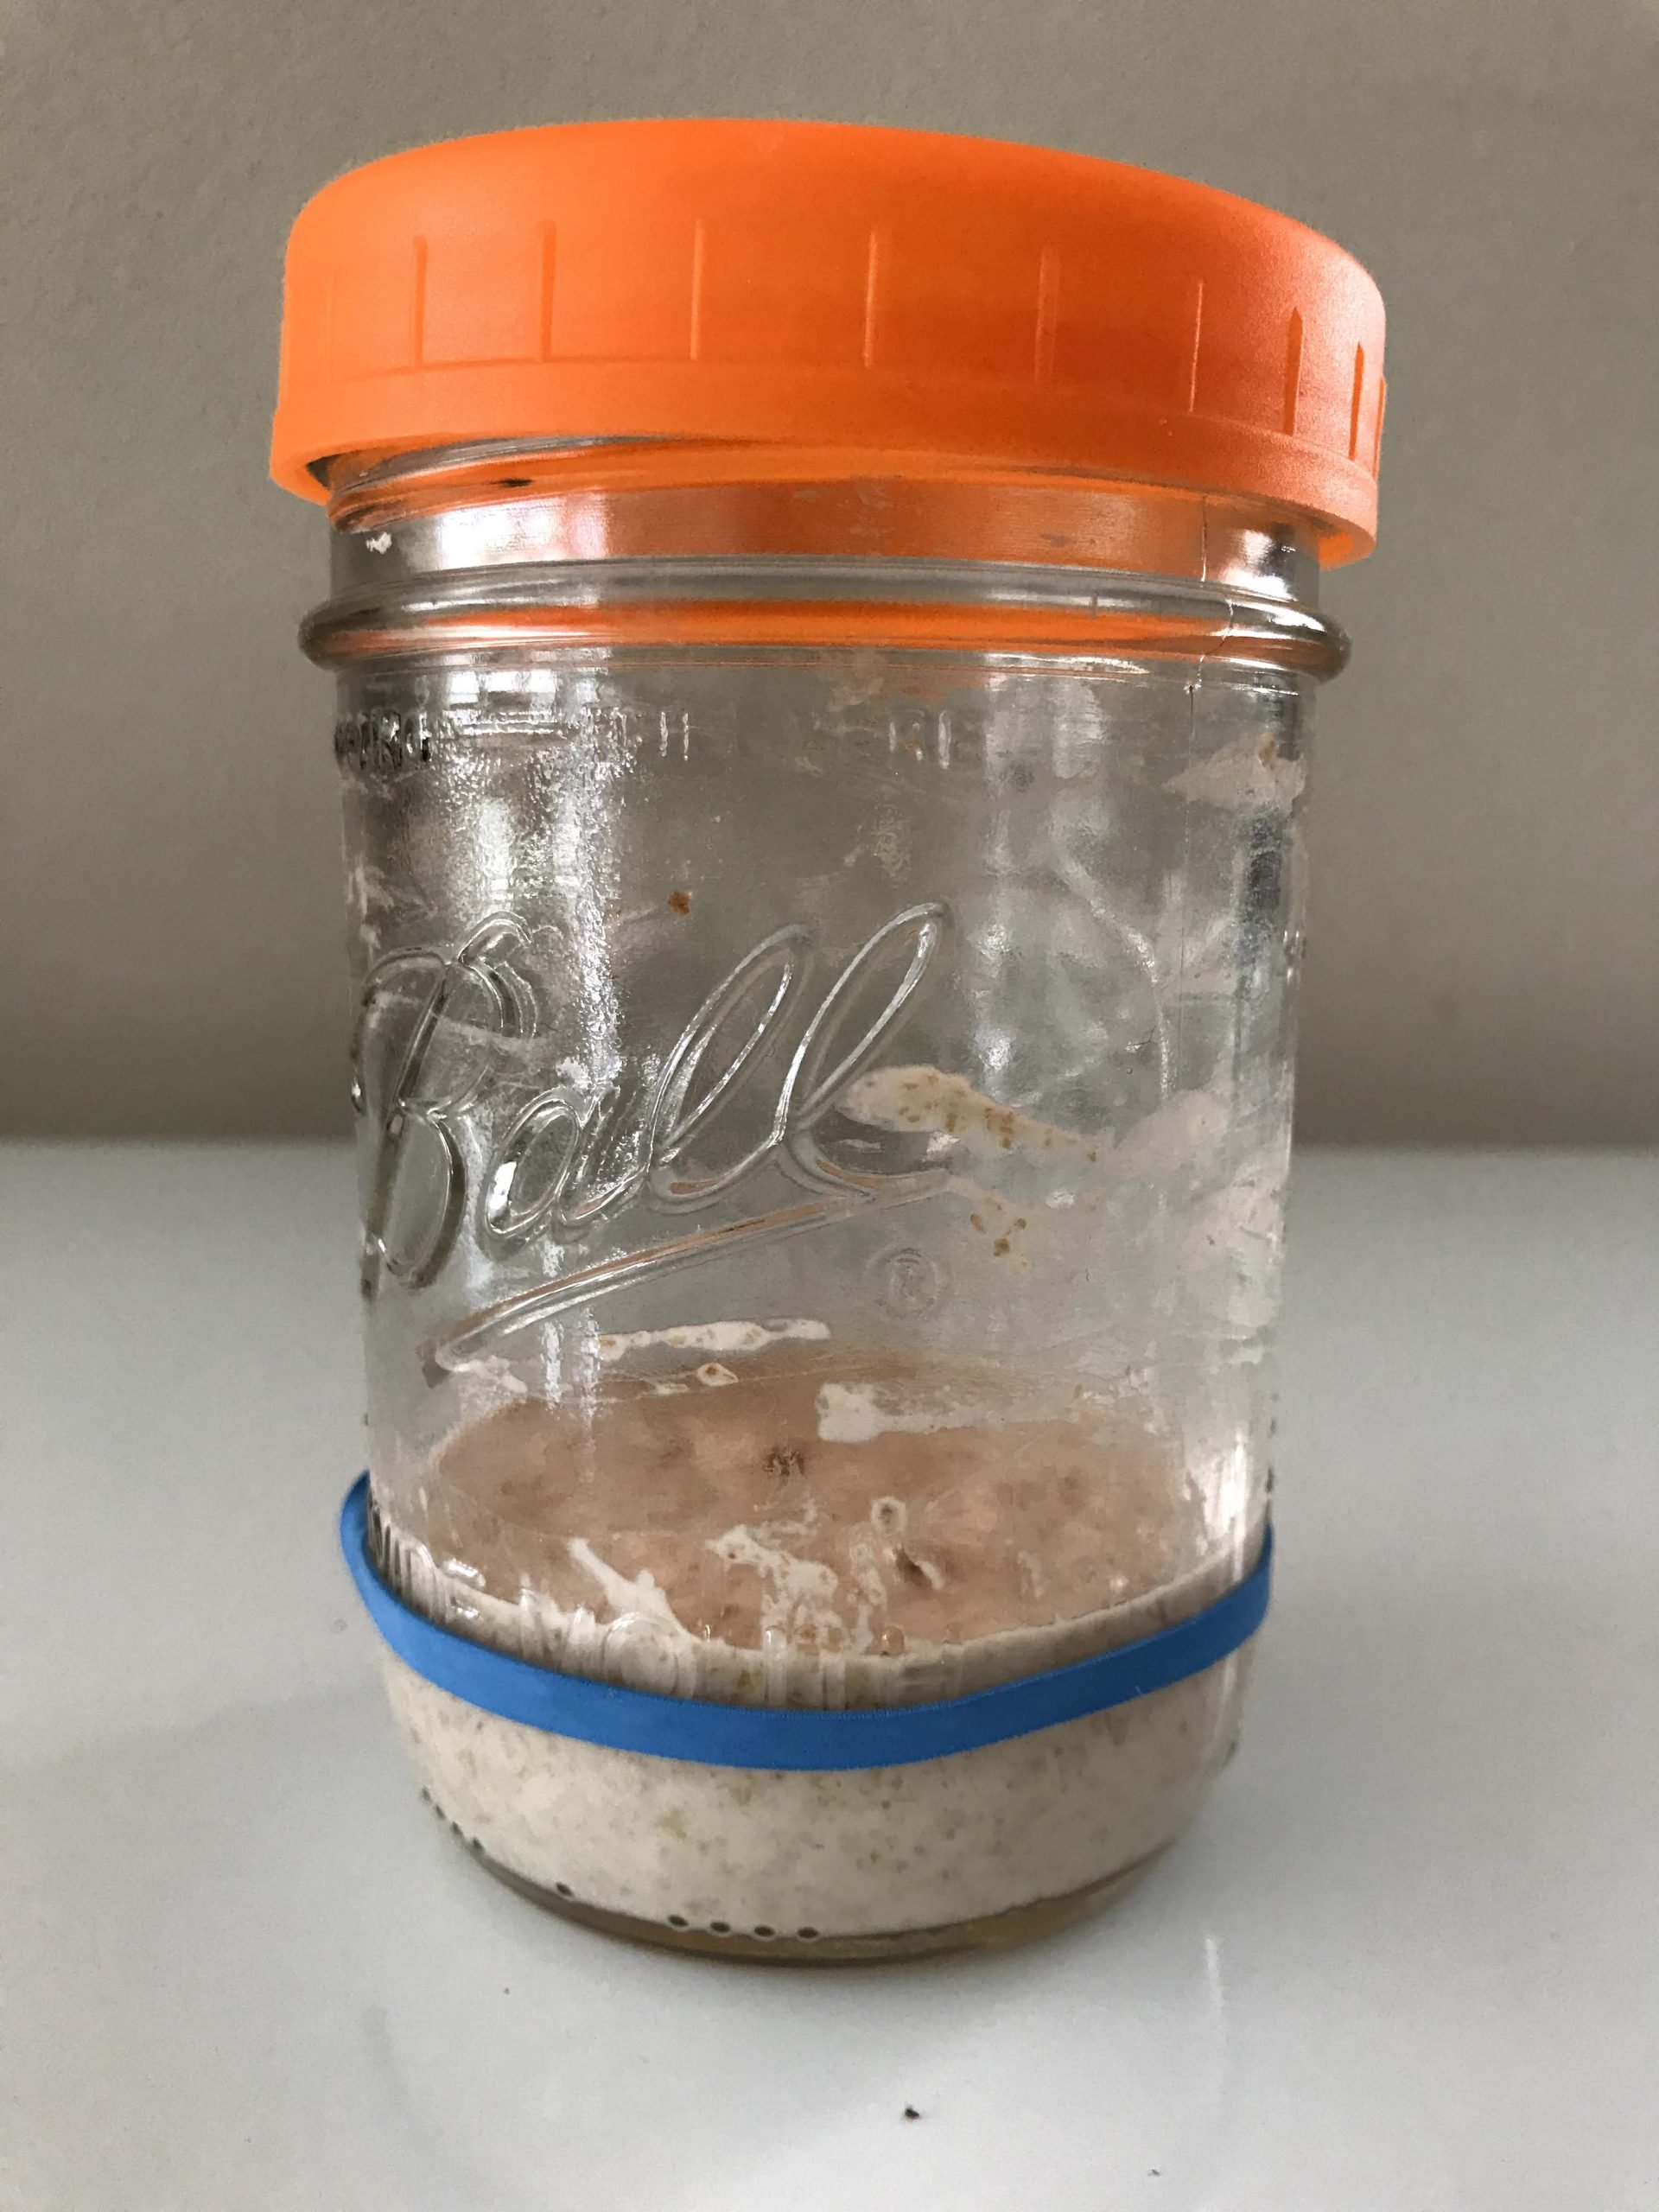
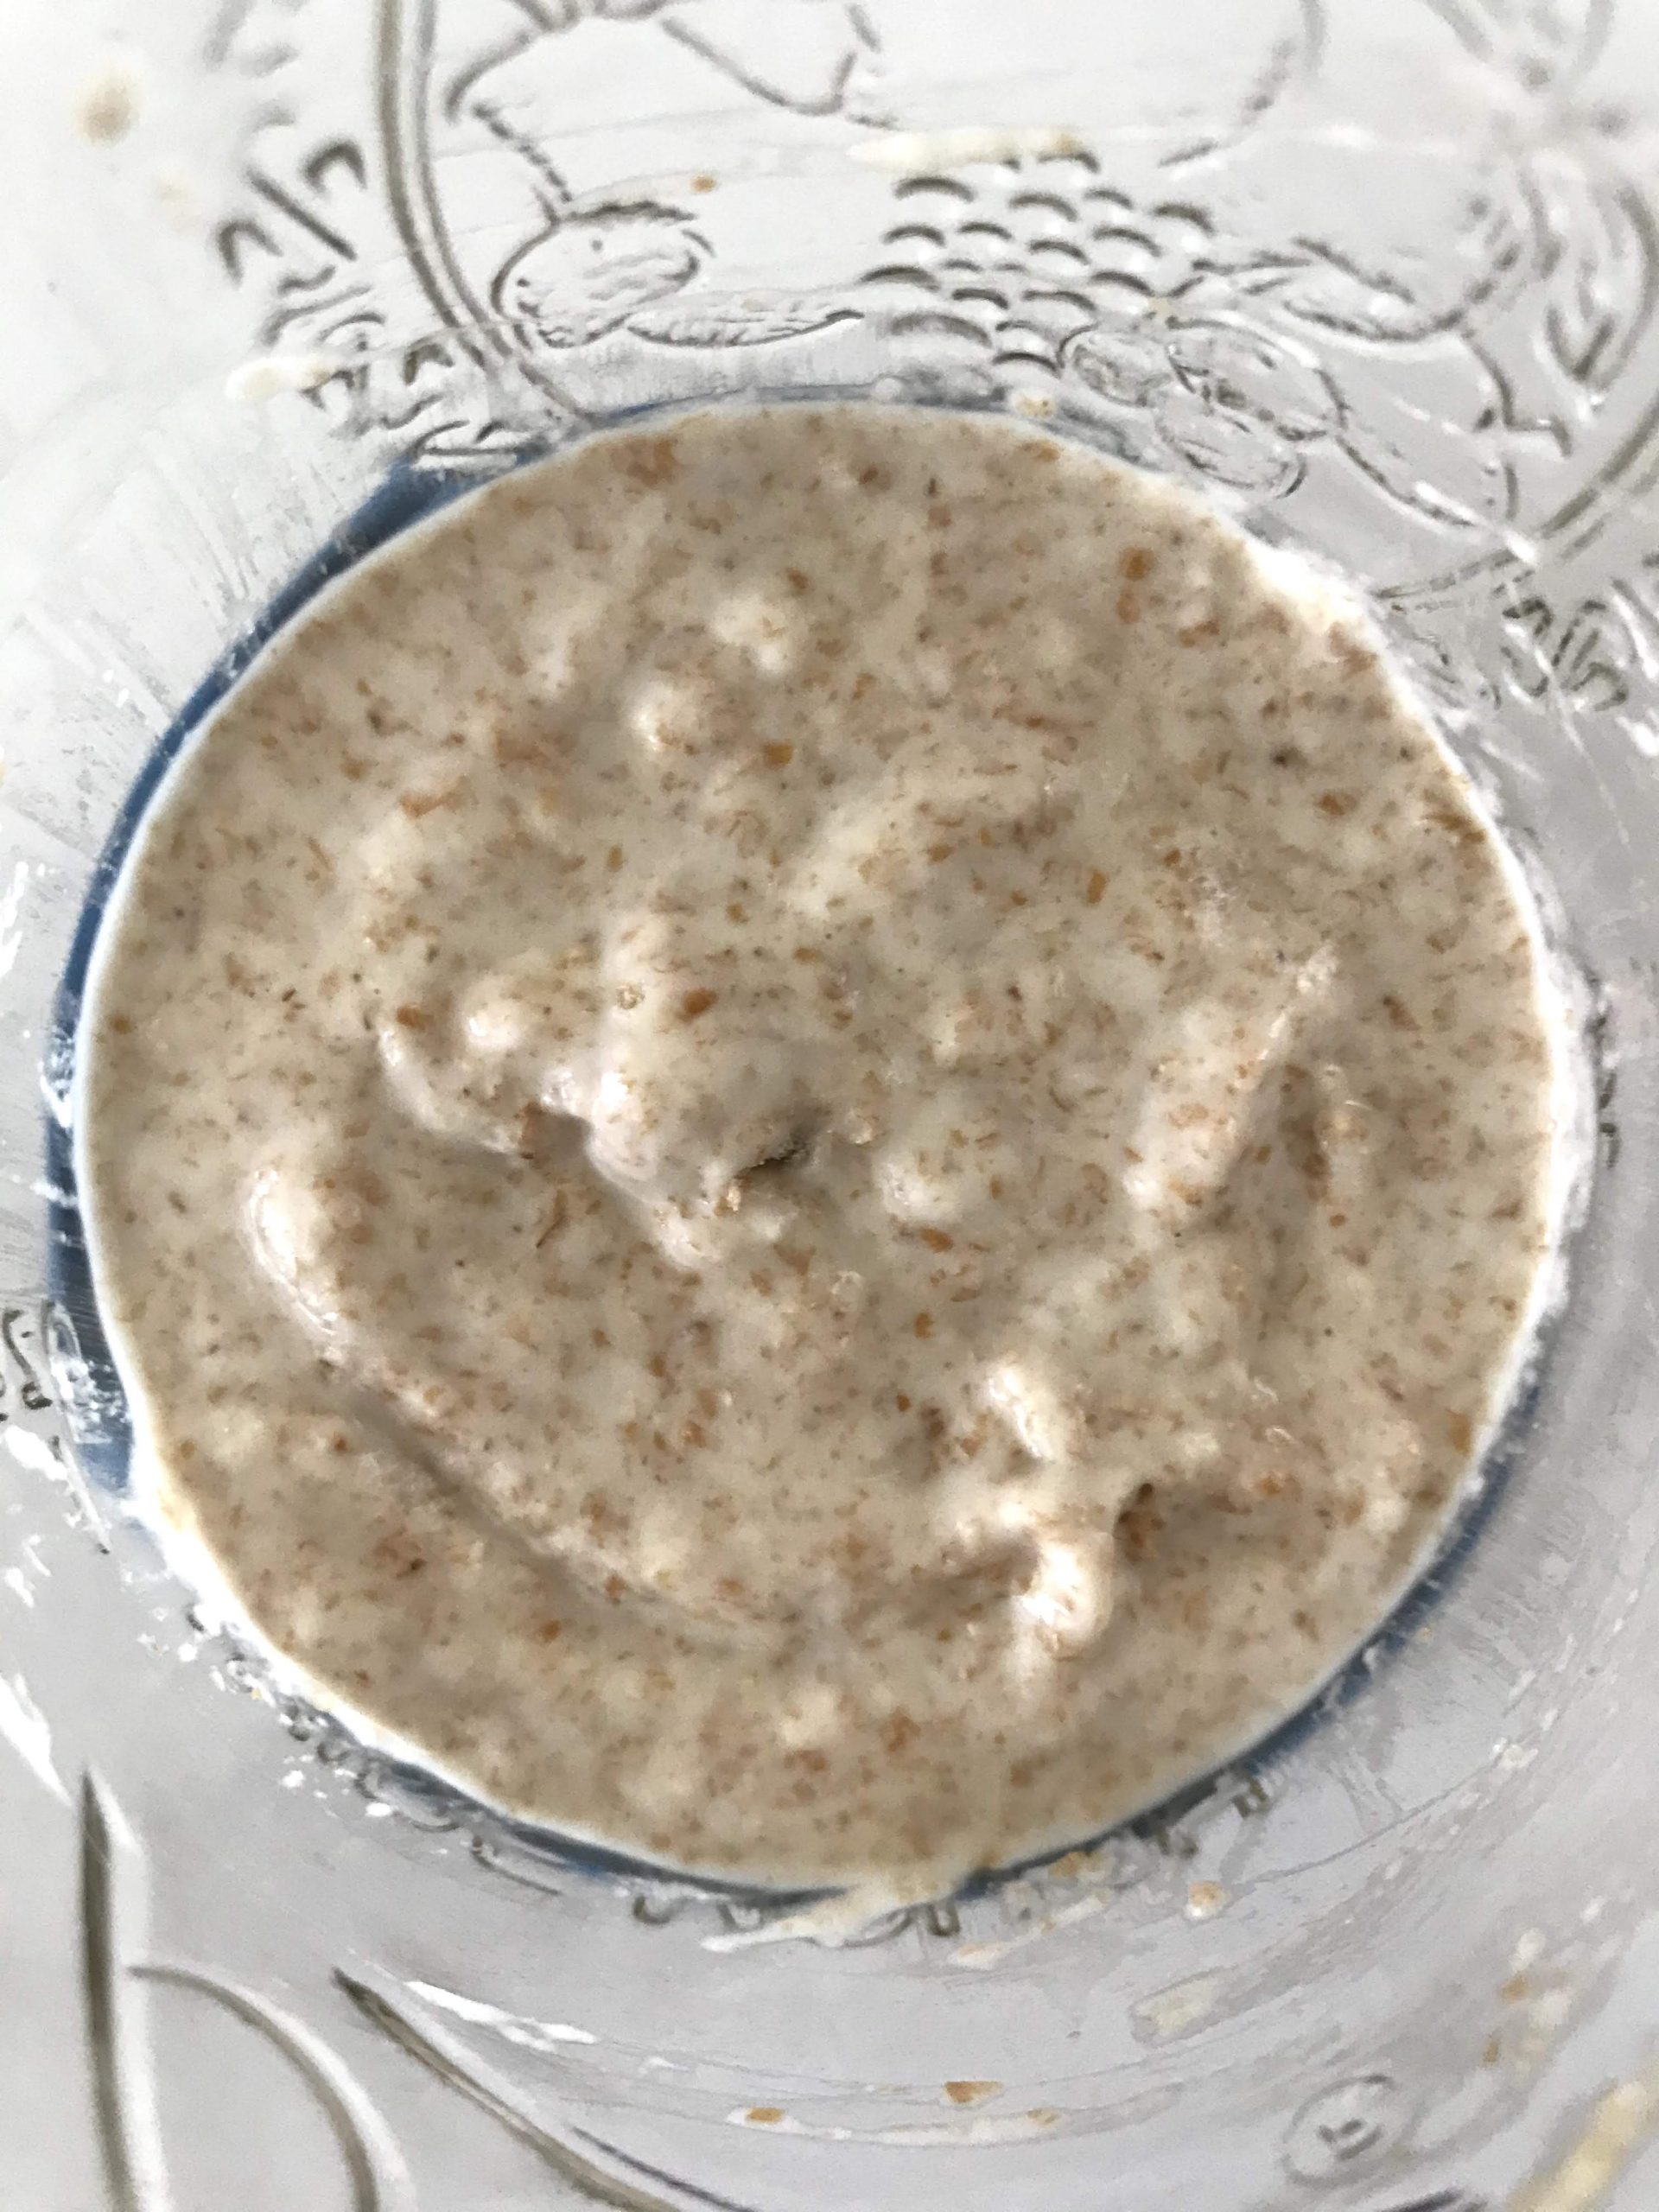
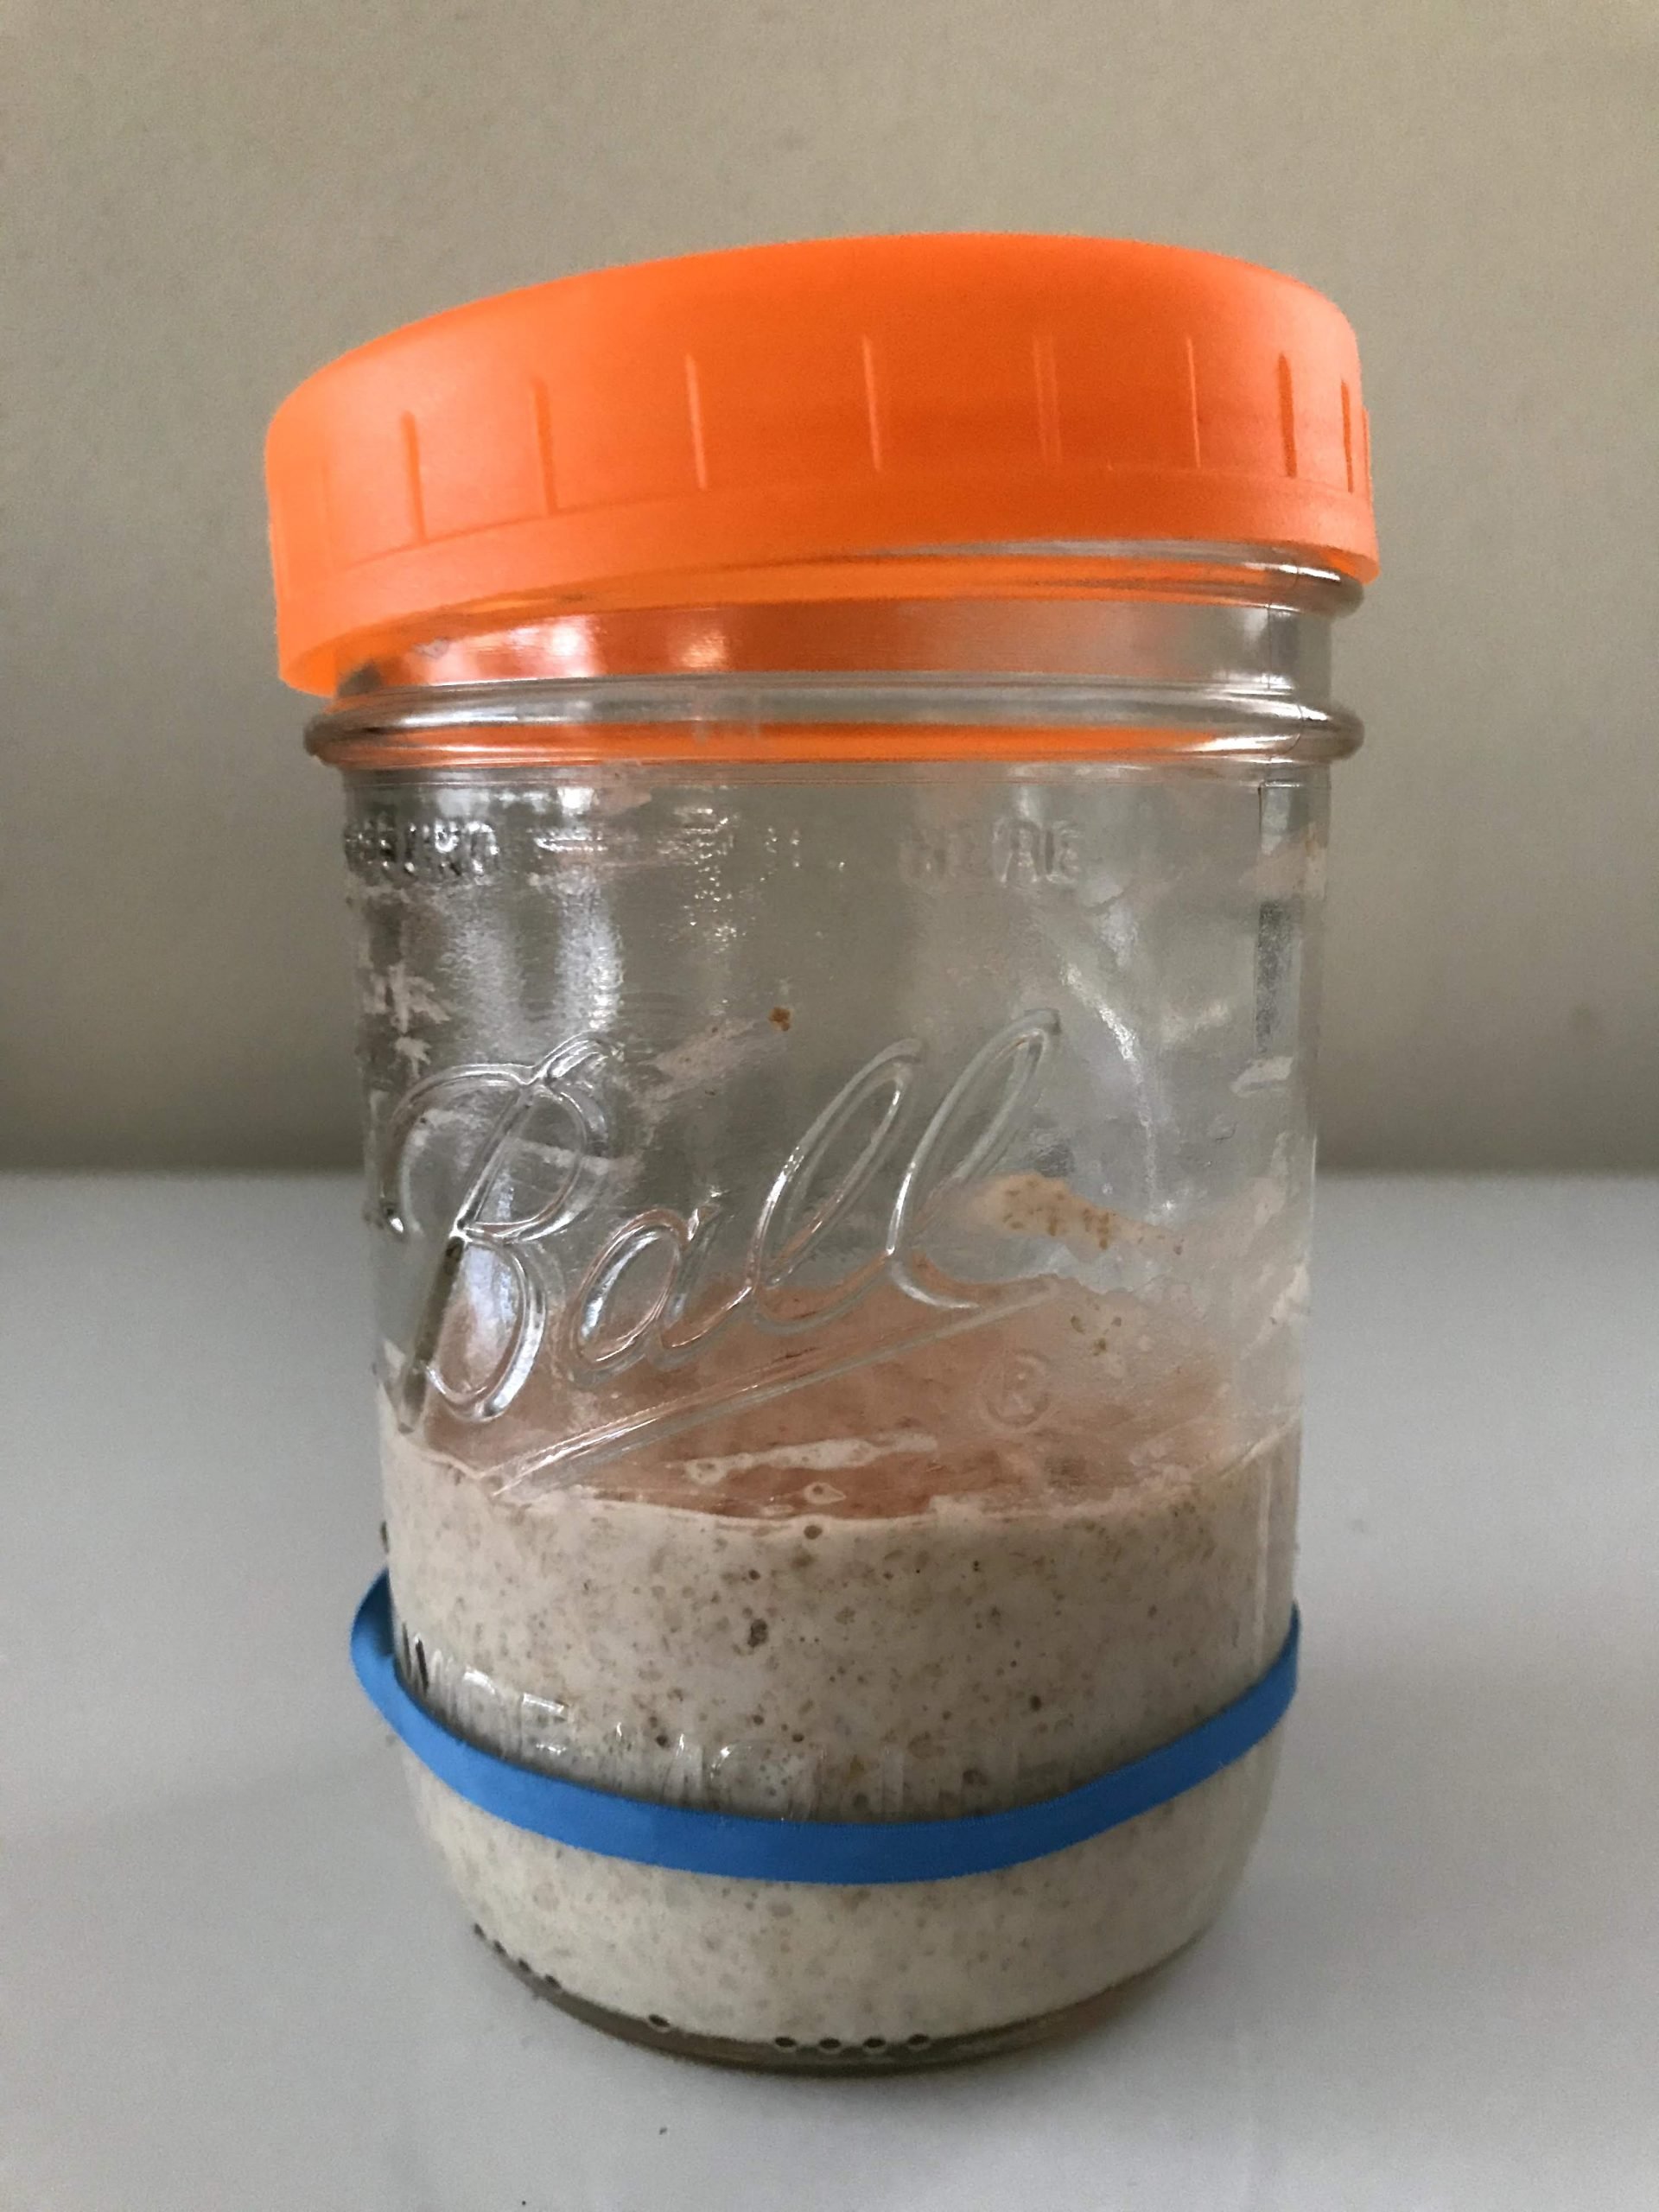
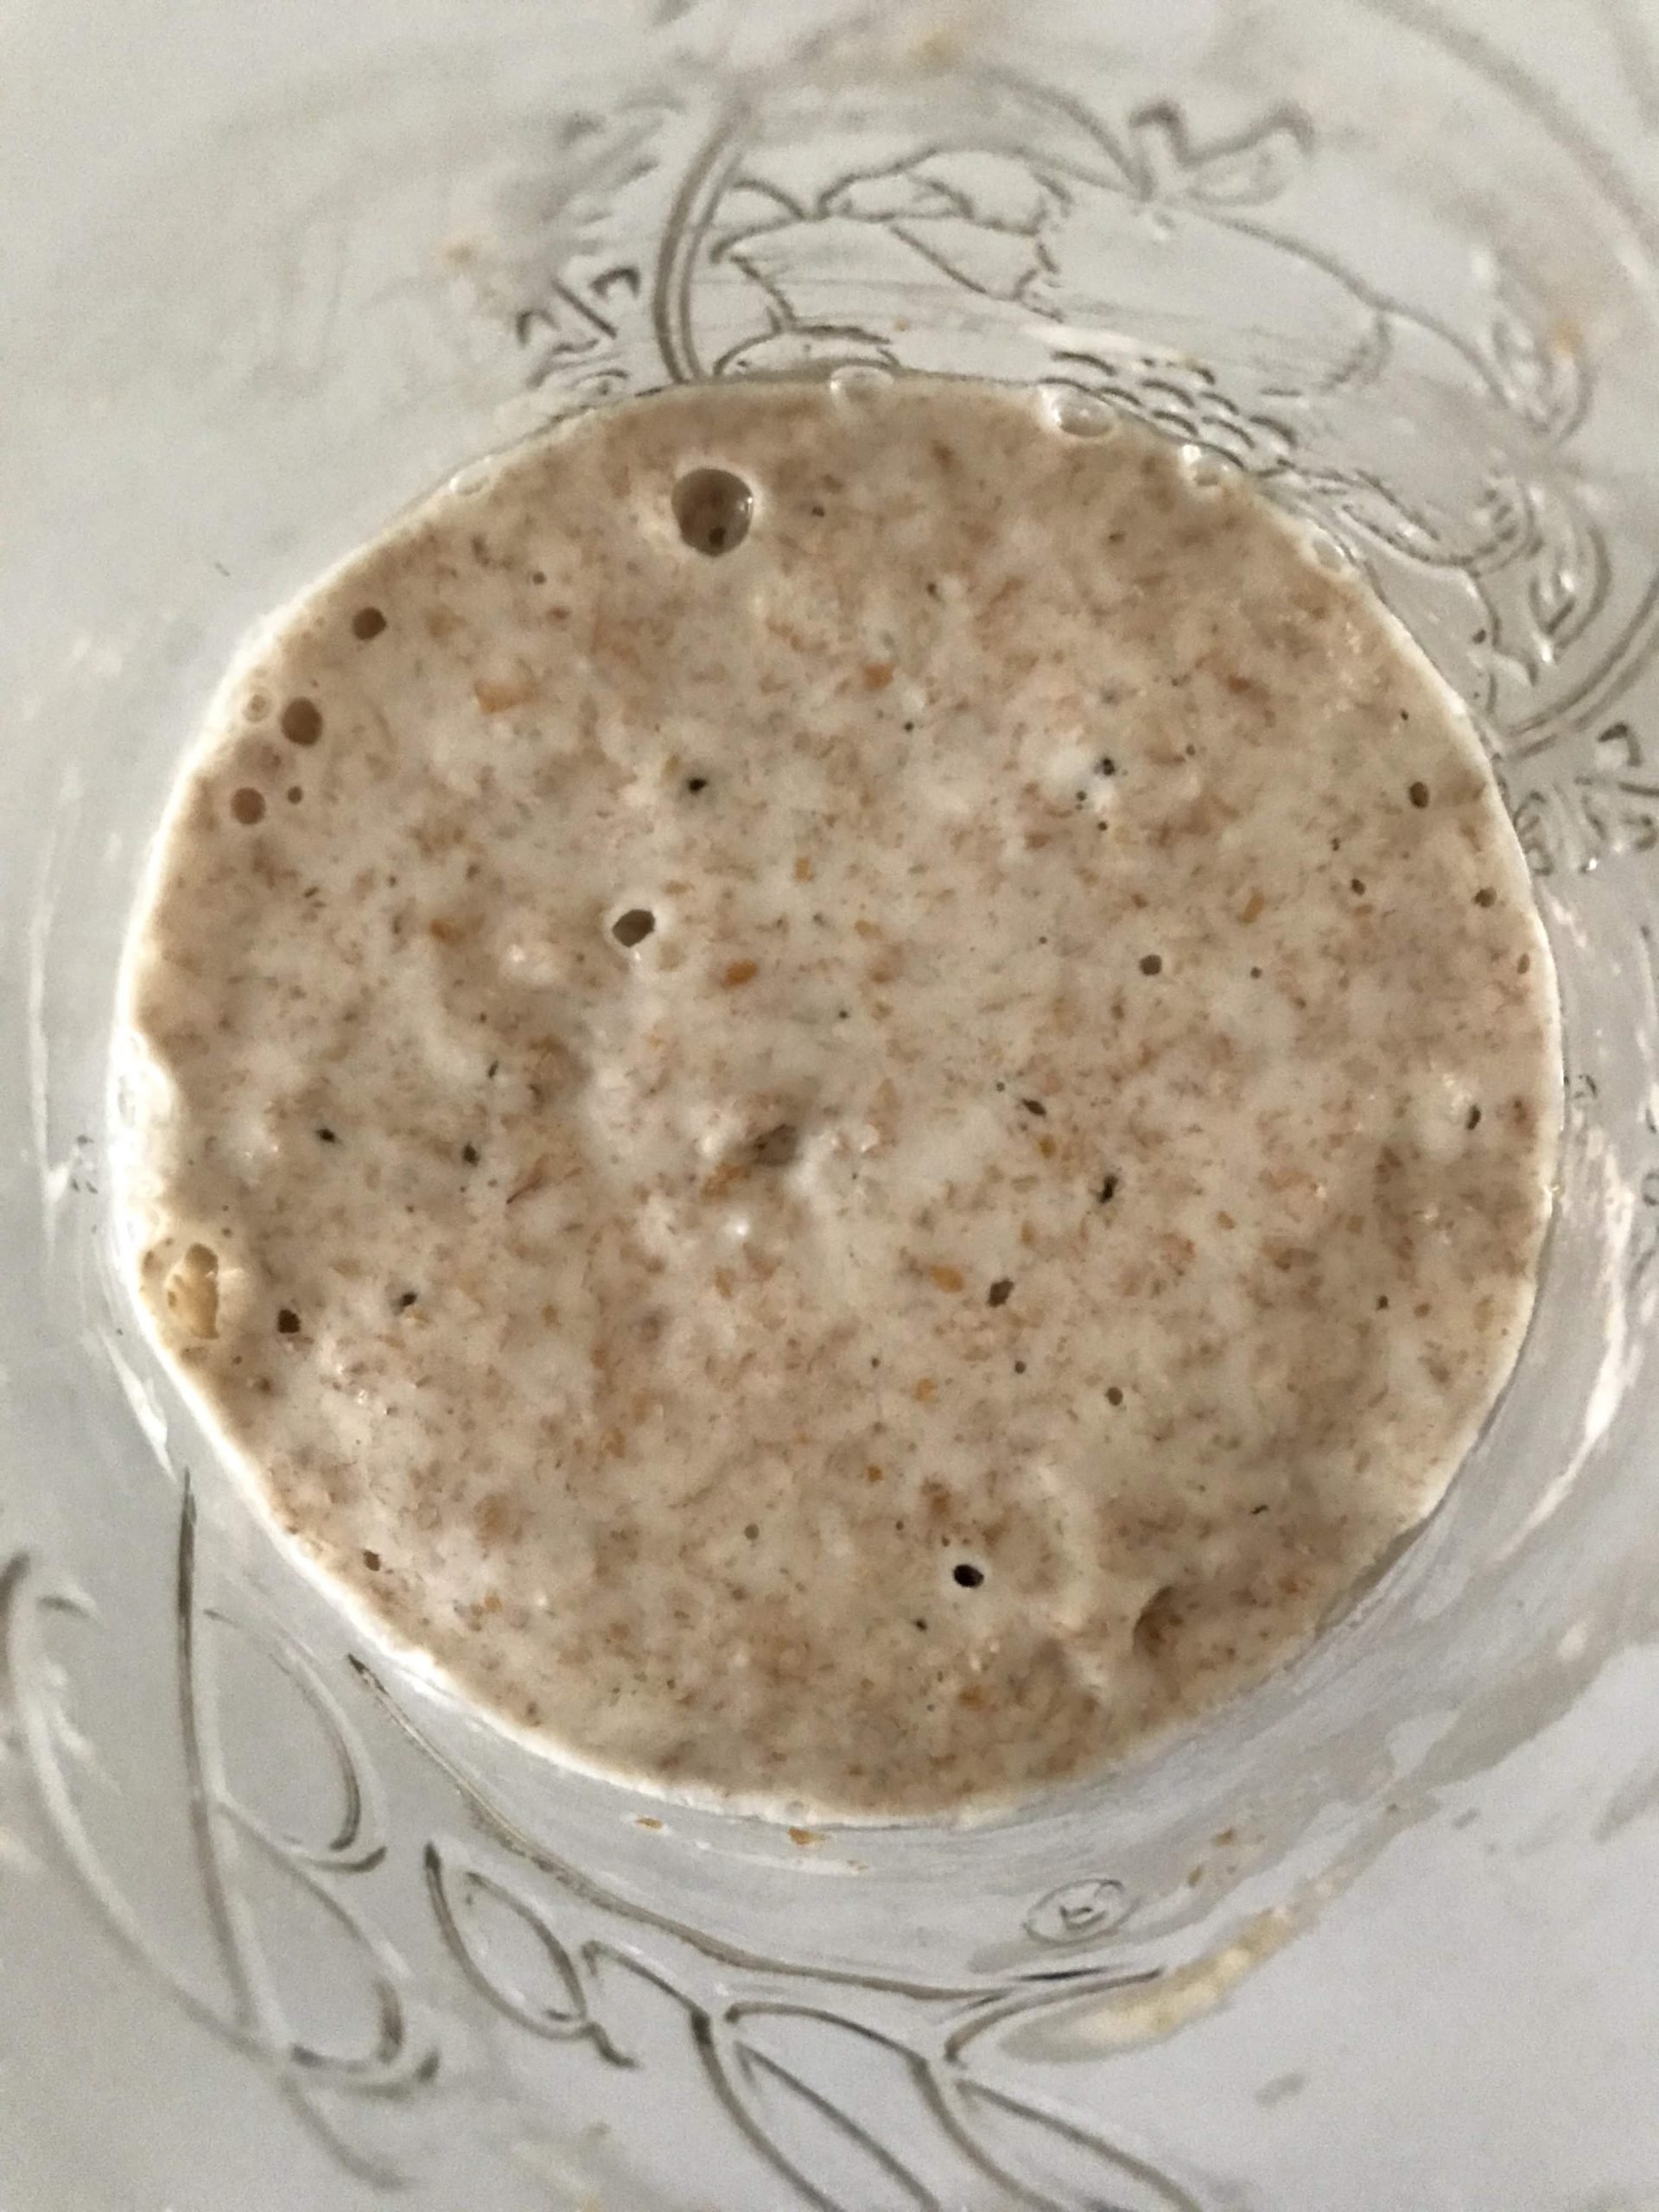
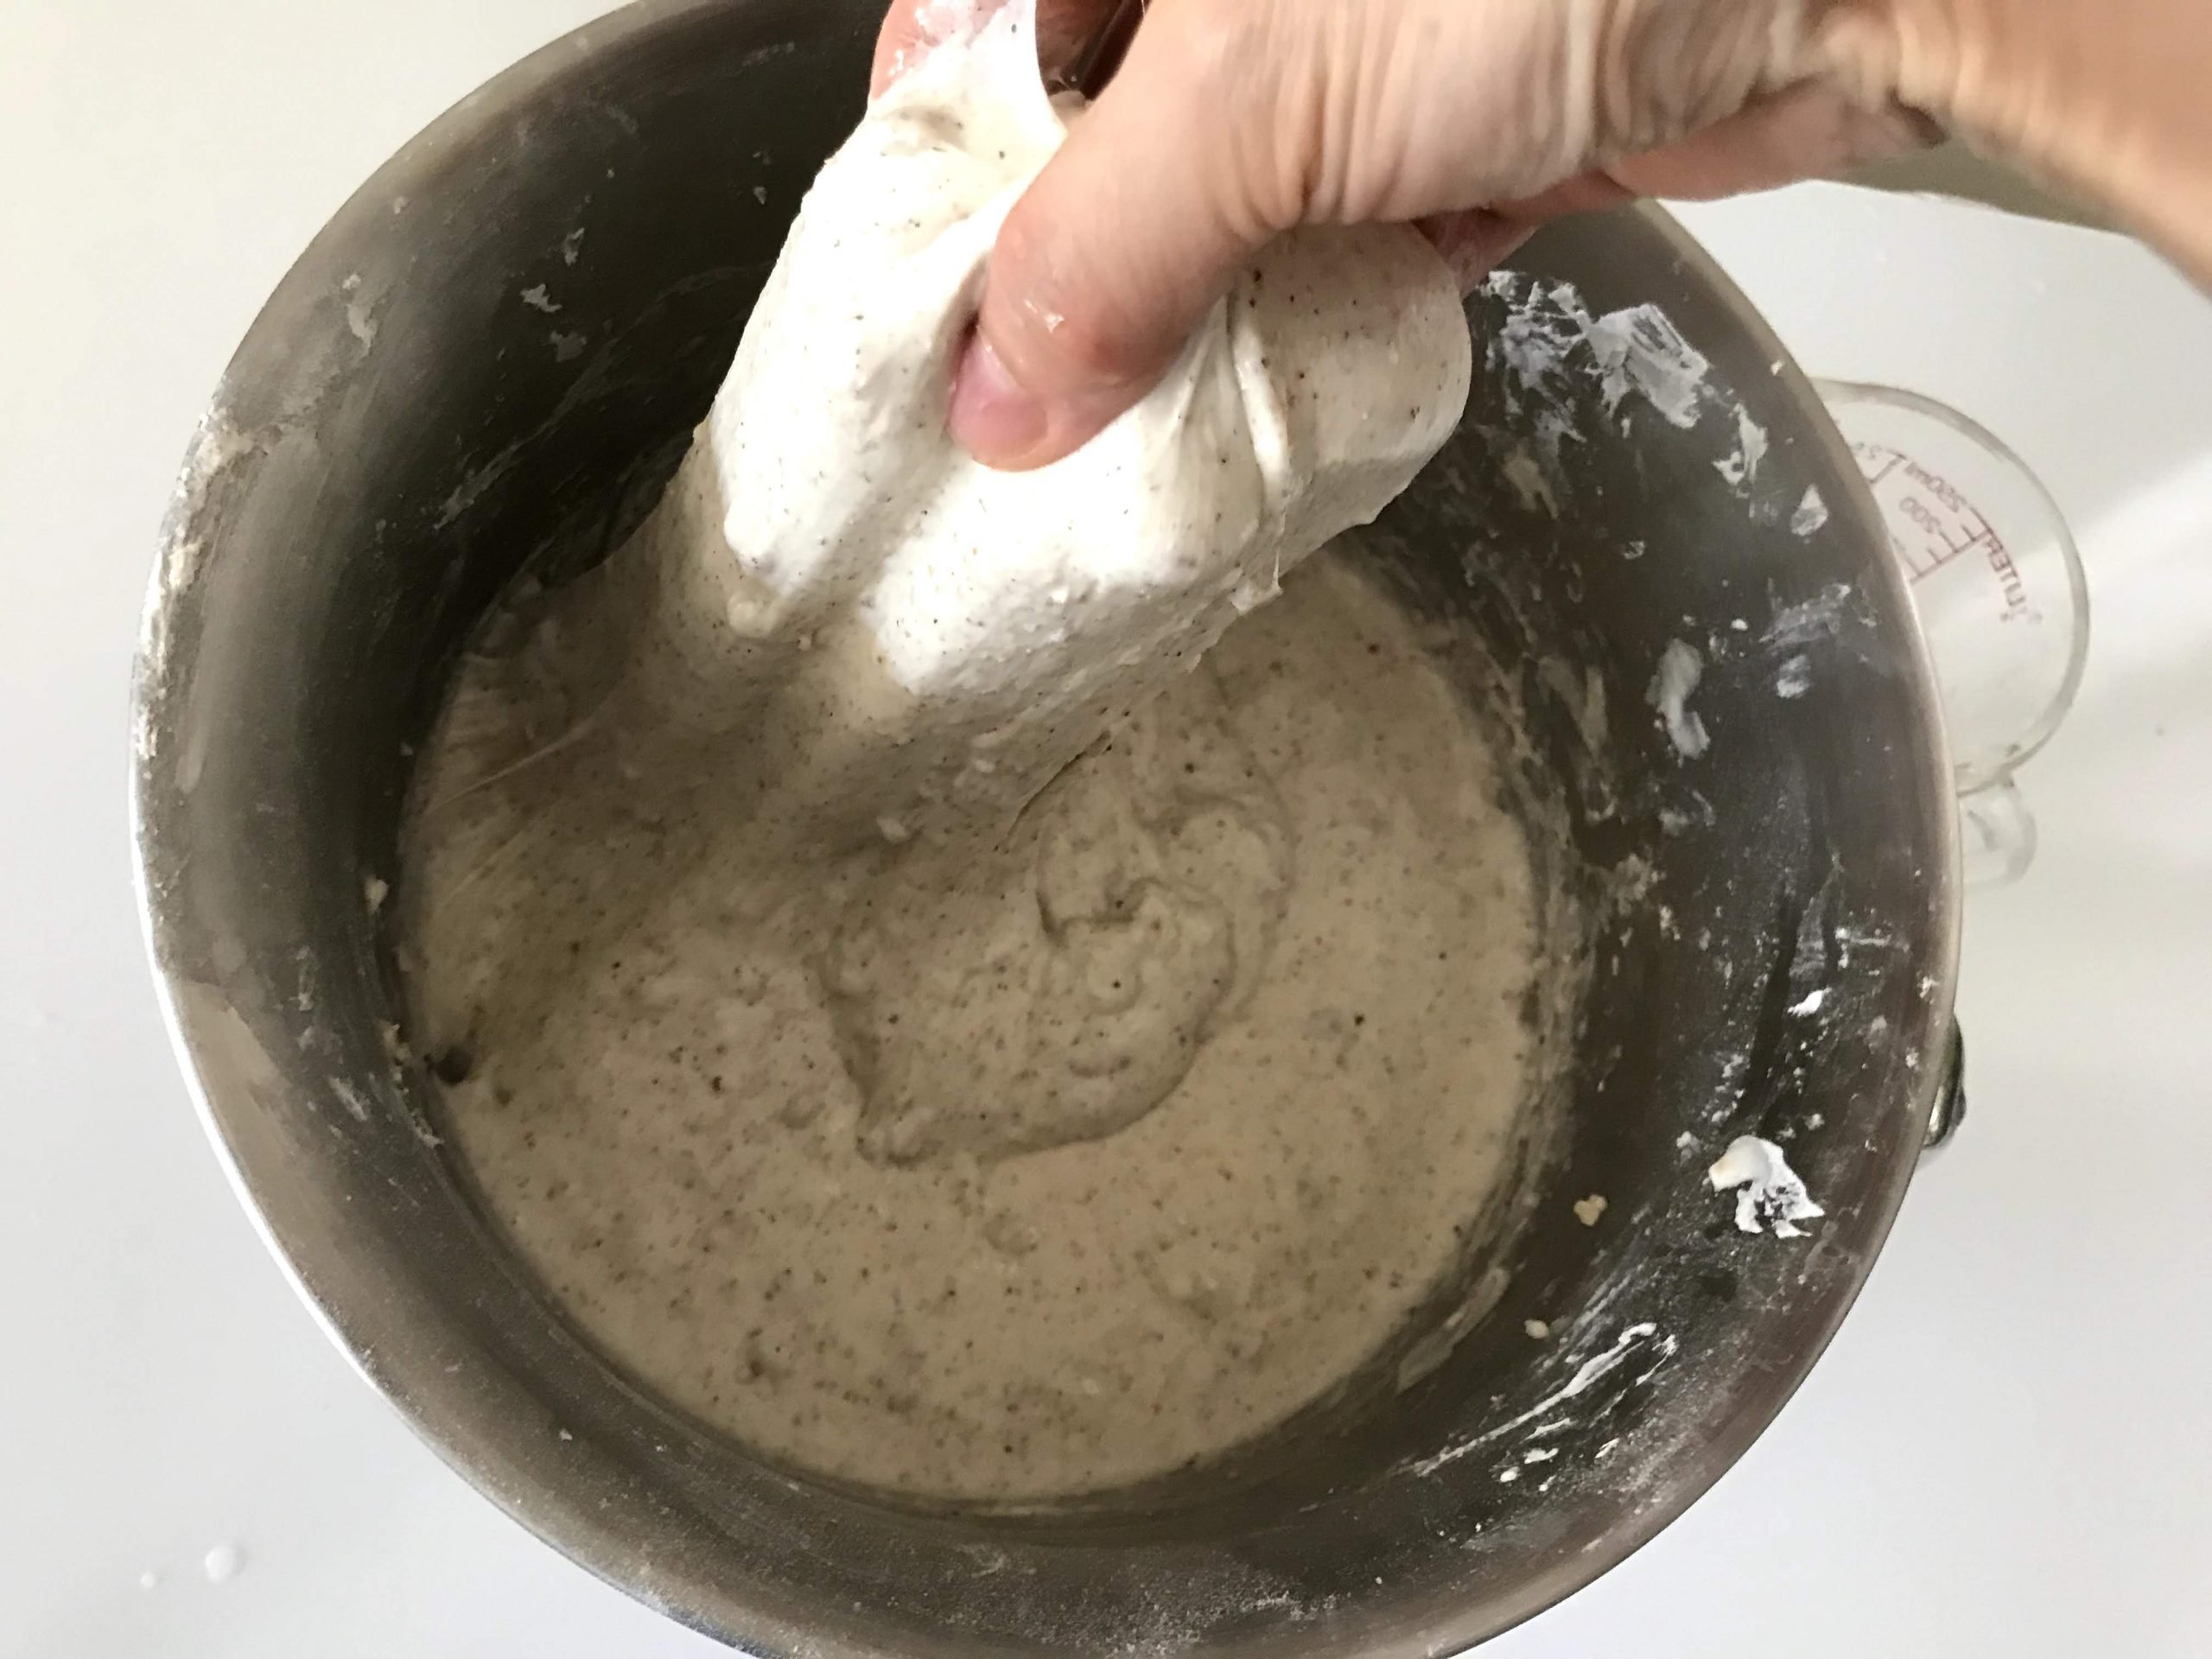
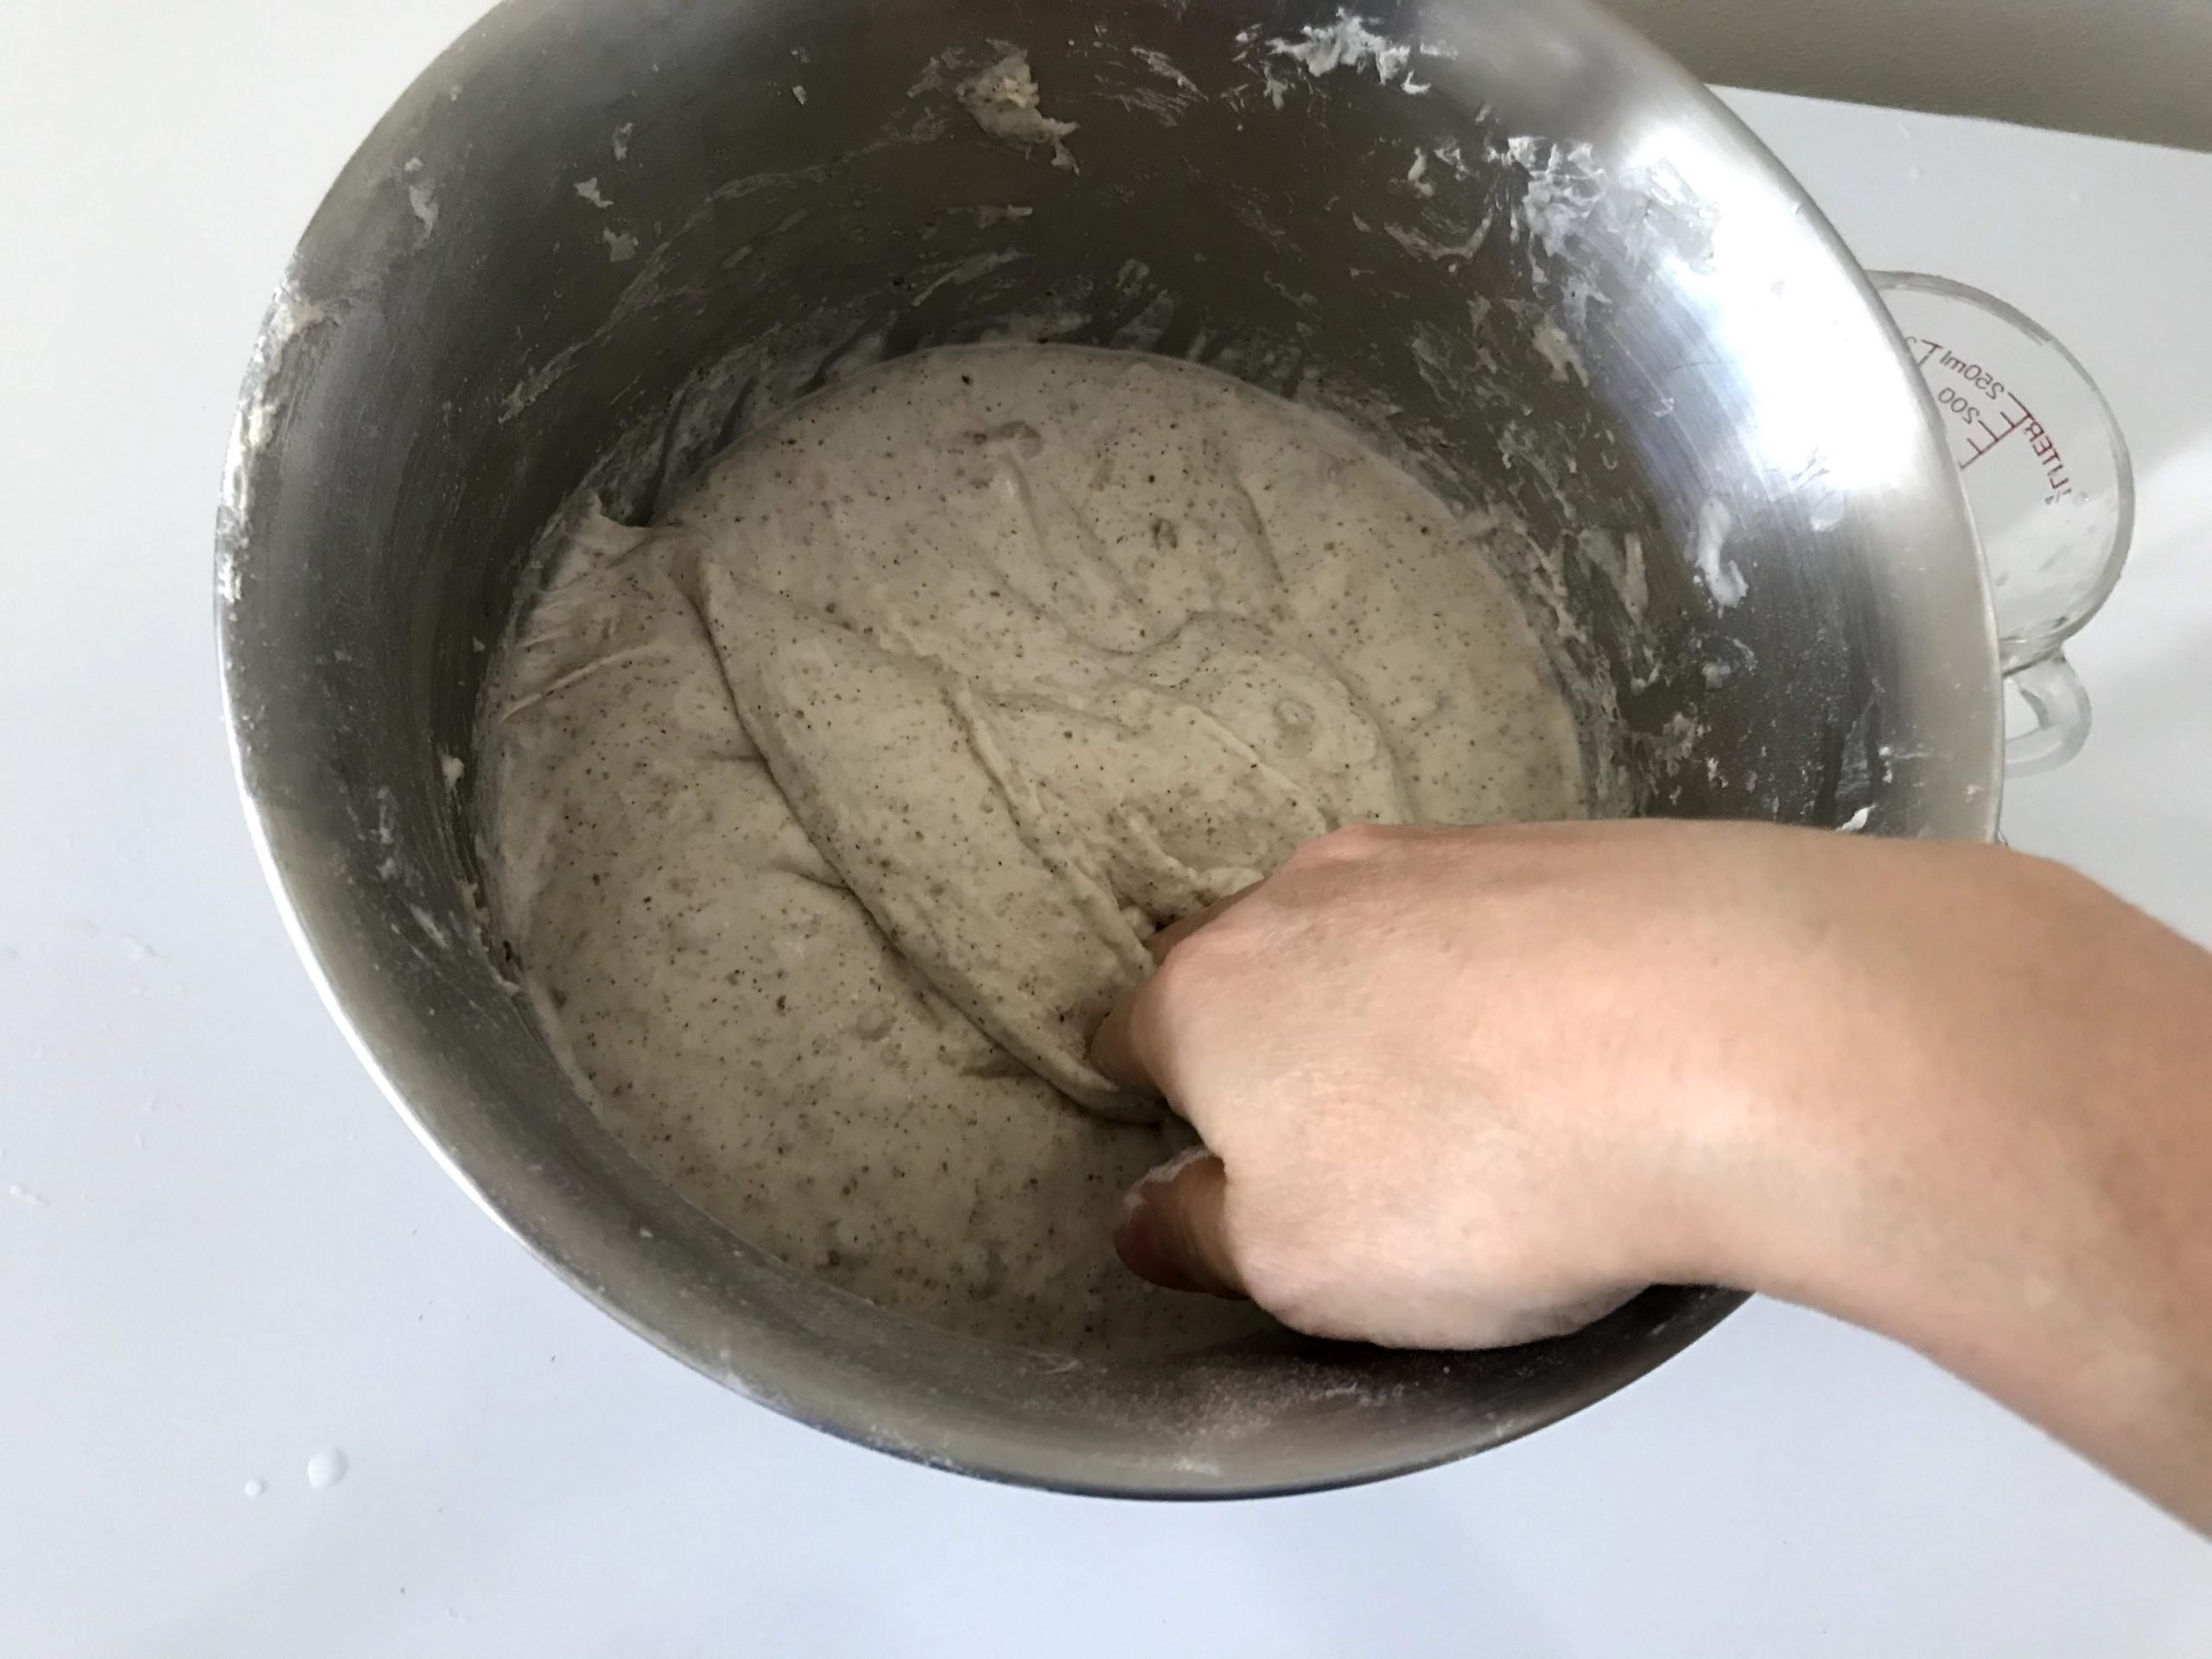
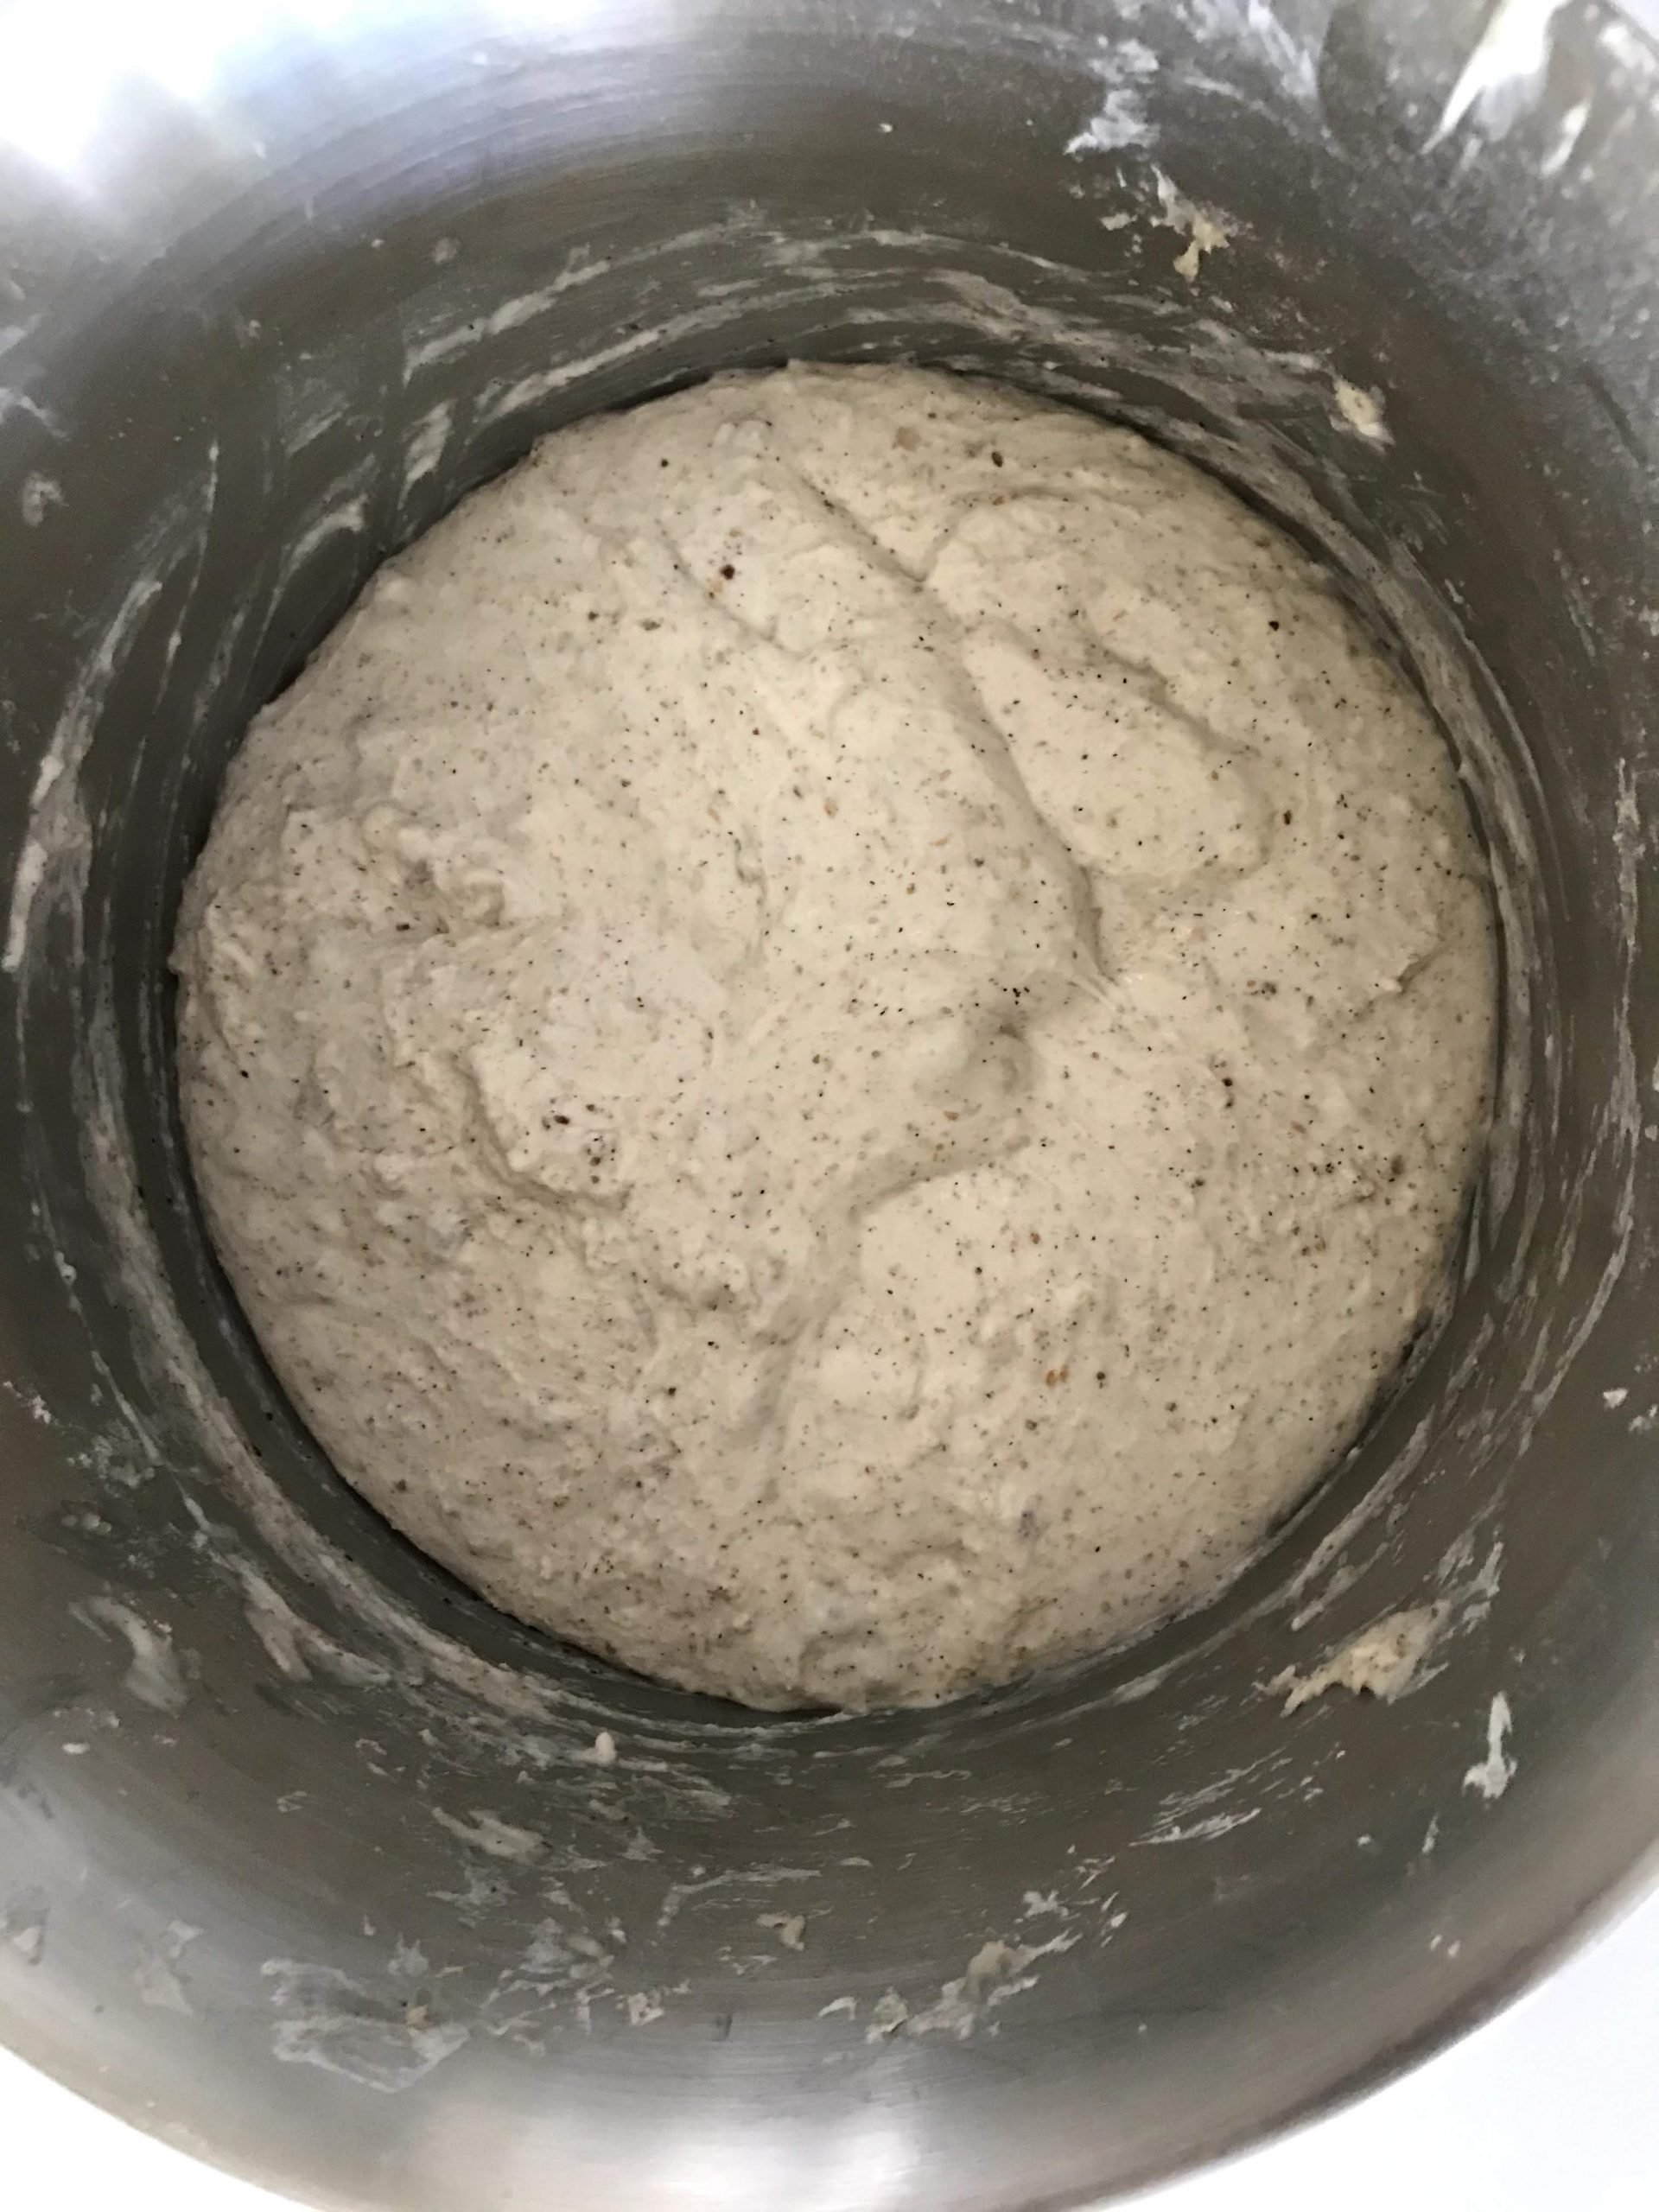
Why sourdough?
Because the ingredients needed to sourdough are simple, it only needs water, flour, and salt. It avoids all the additives and preservatives that are in commercial bread. And above all, it tastes splendid! After having sourdough bread from Tartine in San Fransisco and Acme Bread in Berkeley, I had the urge to learn to bake sourdough bread at home so I tried numerous sourdough bread recipes. But little did I know that the amount of persistence and tacit knowledge one needed for successful sourdough baking.